
orange bird feeder
wooden bird feeder


Easy Bird Feeder Designs You Can Make at Home
While being stuck at home during Earth Week isn’t ideal, there are still many ways you can make a difference and celebrate from home! One great way to benefit your local ecosystem is by making bird feeders. Below are two different ways you can easily make a bird feeder for your yard, depending on what materials you have available. Enjoy!
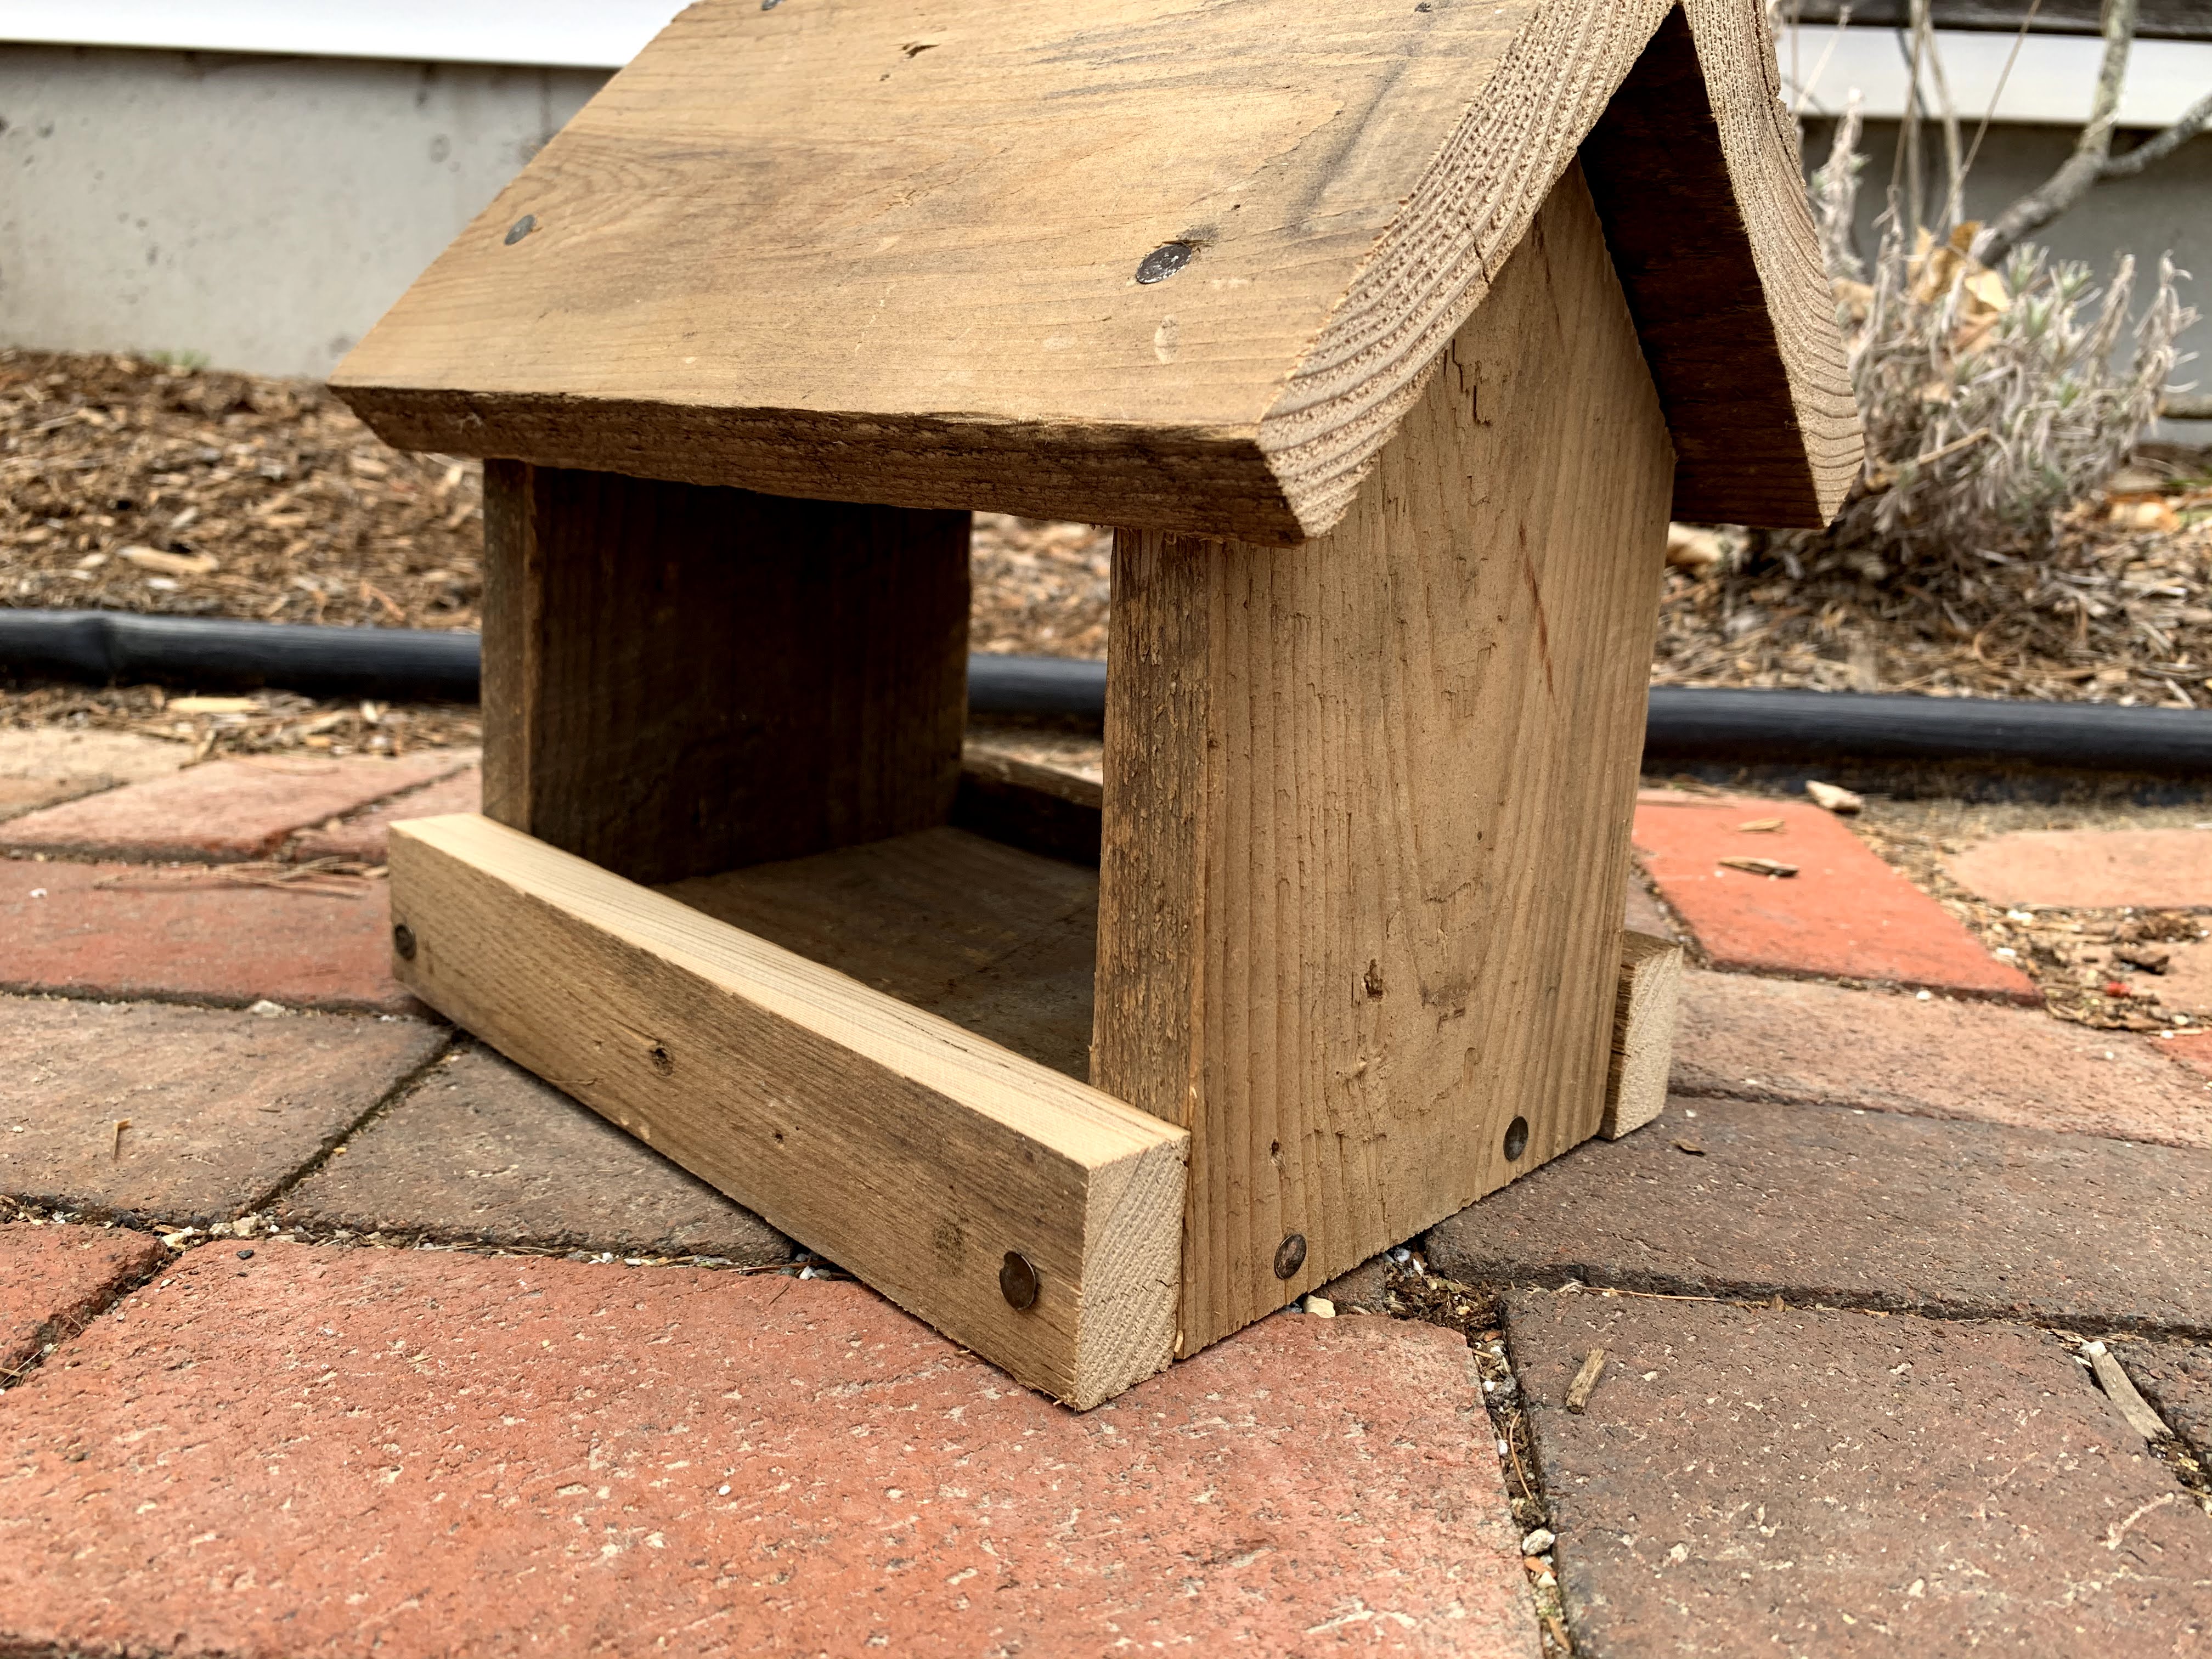
Wooden Open-Side Birdhouse Feeder
For this project, you will need:
- 5” wide wooden board around 4’ long (I used pine, but you can use whatever kind wood is available to you)
- Hammer and nails (or a nail gun)
- Saw (I used my Dad’s chop saw, but you can do this with a handsaw too)
- Screw-in hook (optional)
- Paint (optional)
- Birdseed
- Cut your board into the following pieces:
- 2 “wall” pieces at 7 ¾”
- 1 “floor” piece at 10”
- 1 “roof” piece at 9 ½”
- 1 “roof” piece at 10”
- 1 piece at 8”
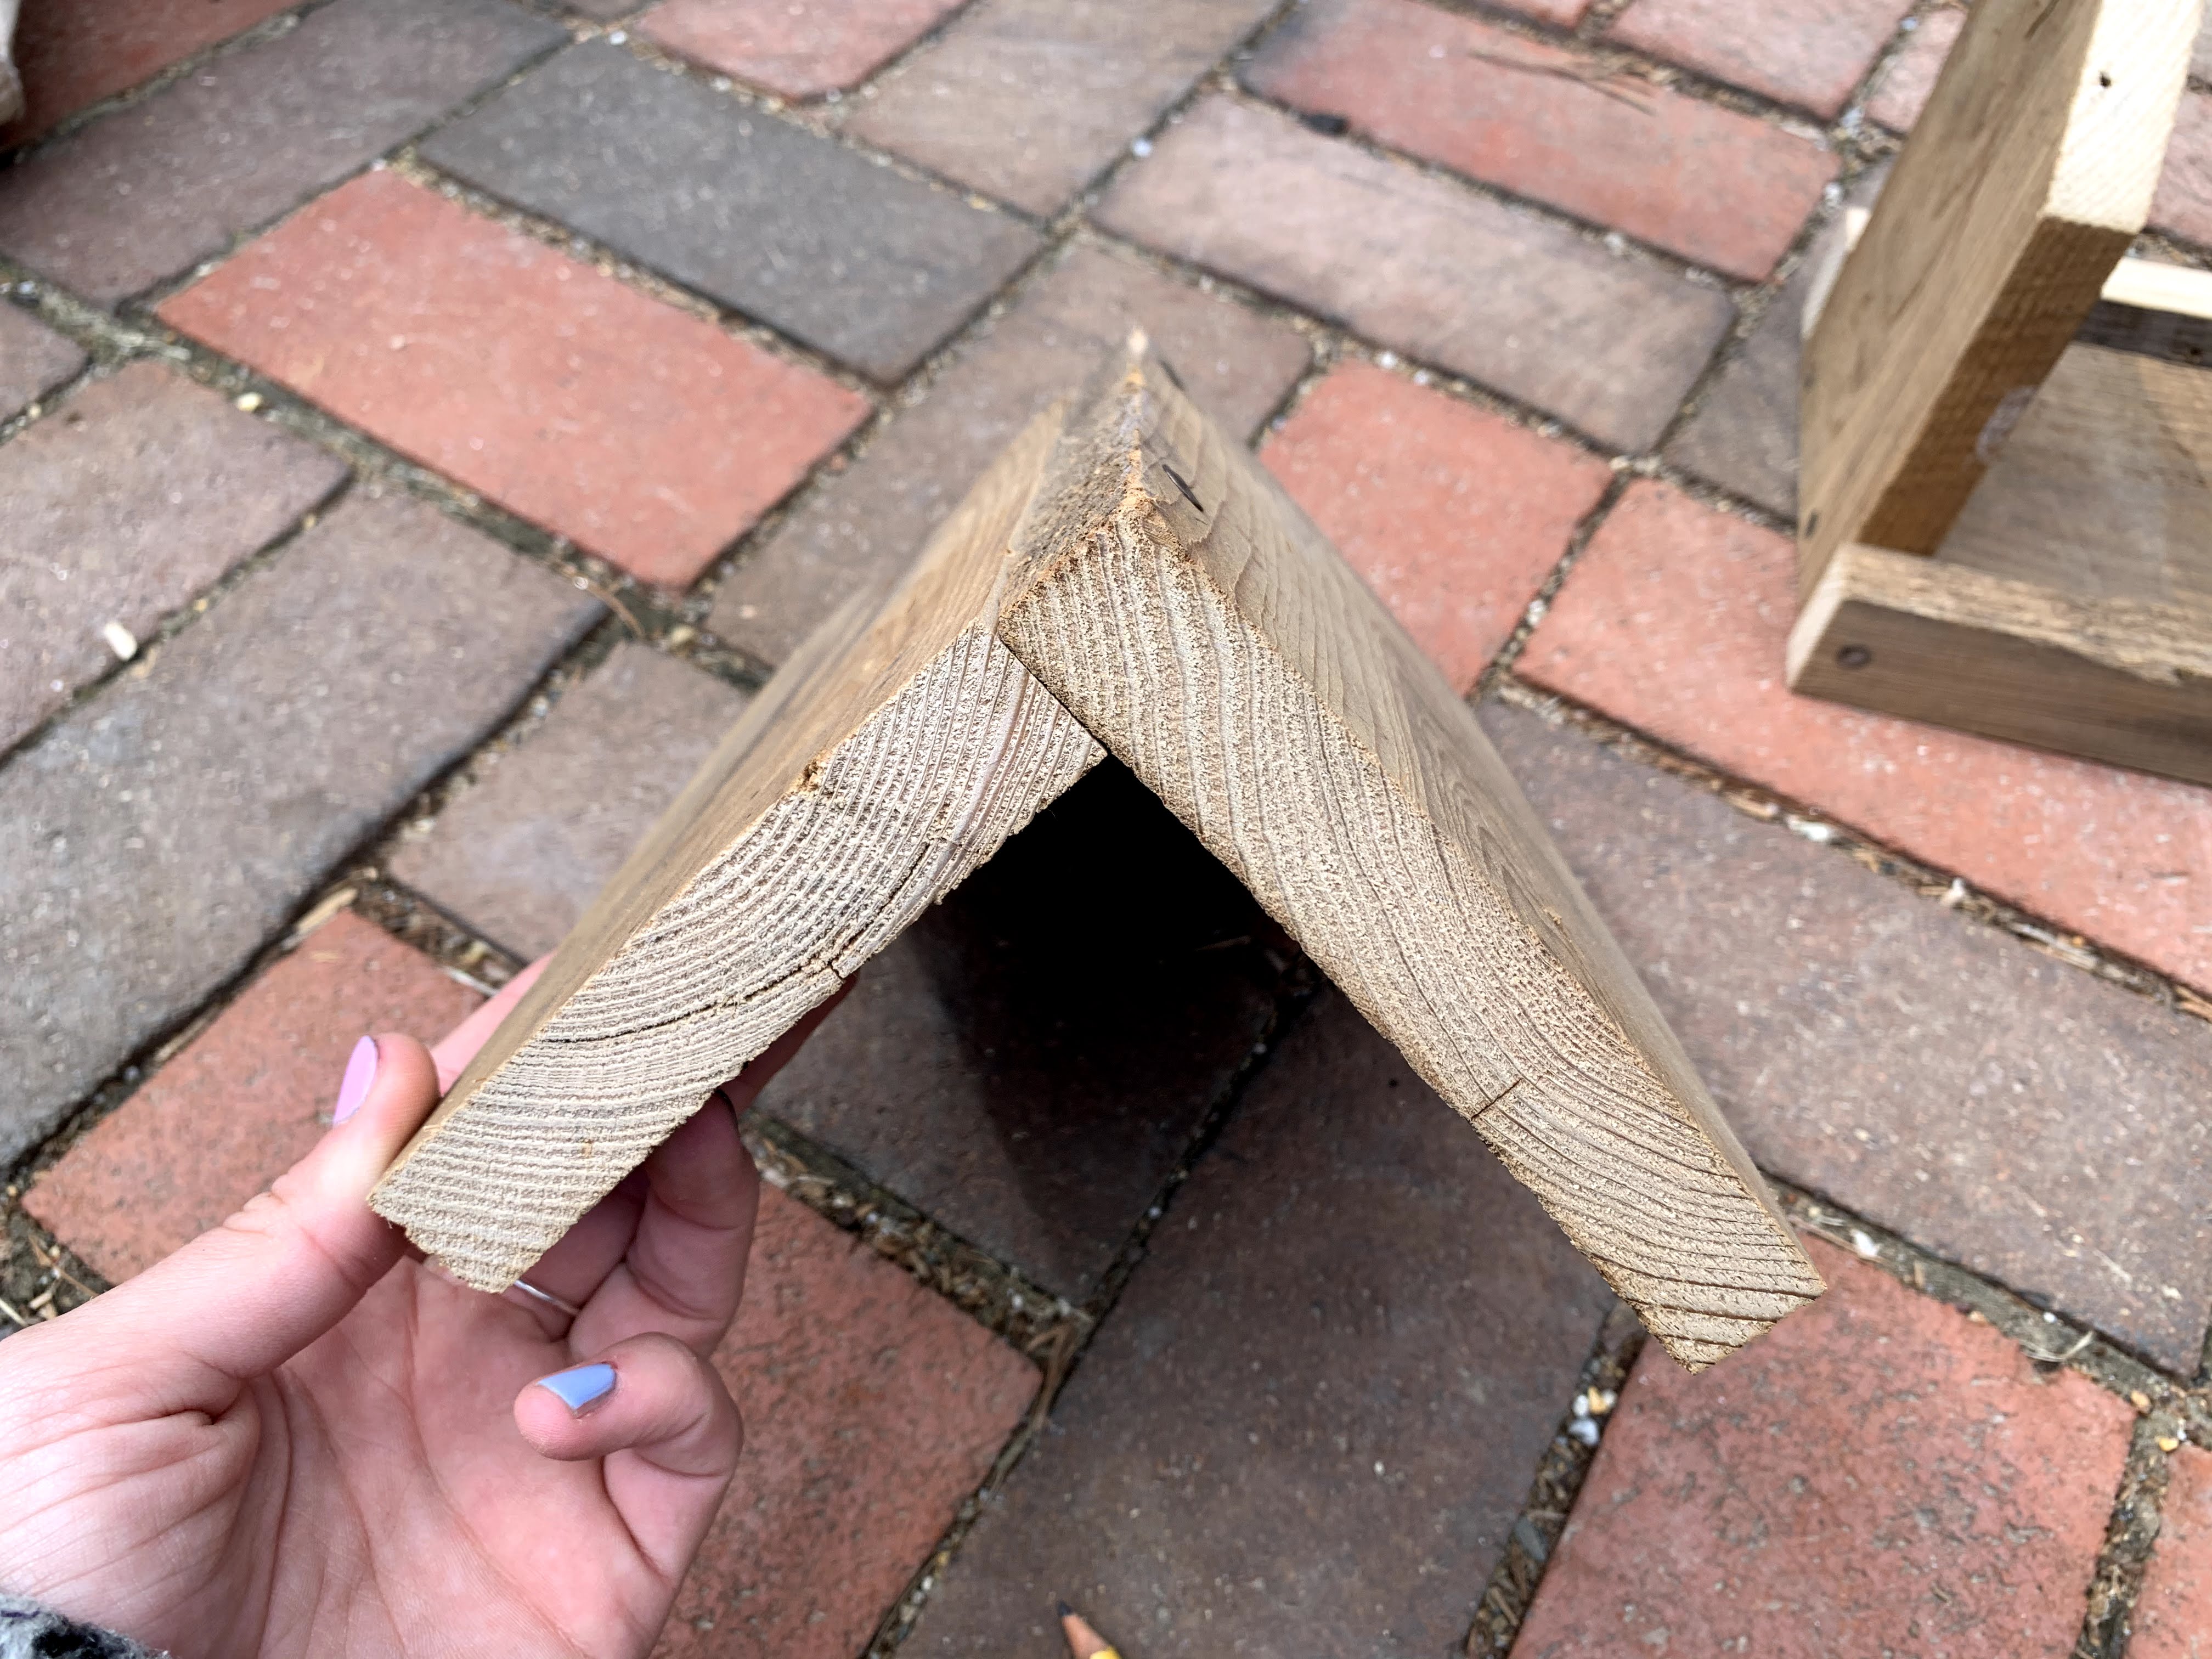
- After you have your basic pieces cut, take the two wall pieces and cut one of the shorter ends of each into a gable (pointed edge) by finding the center and using 45° angles.
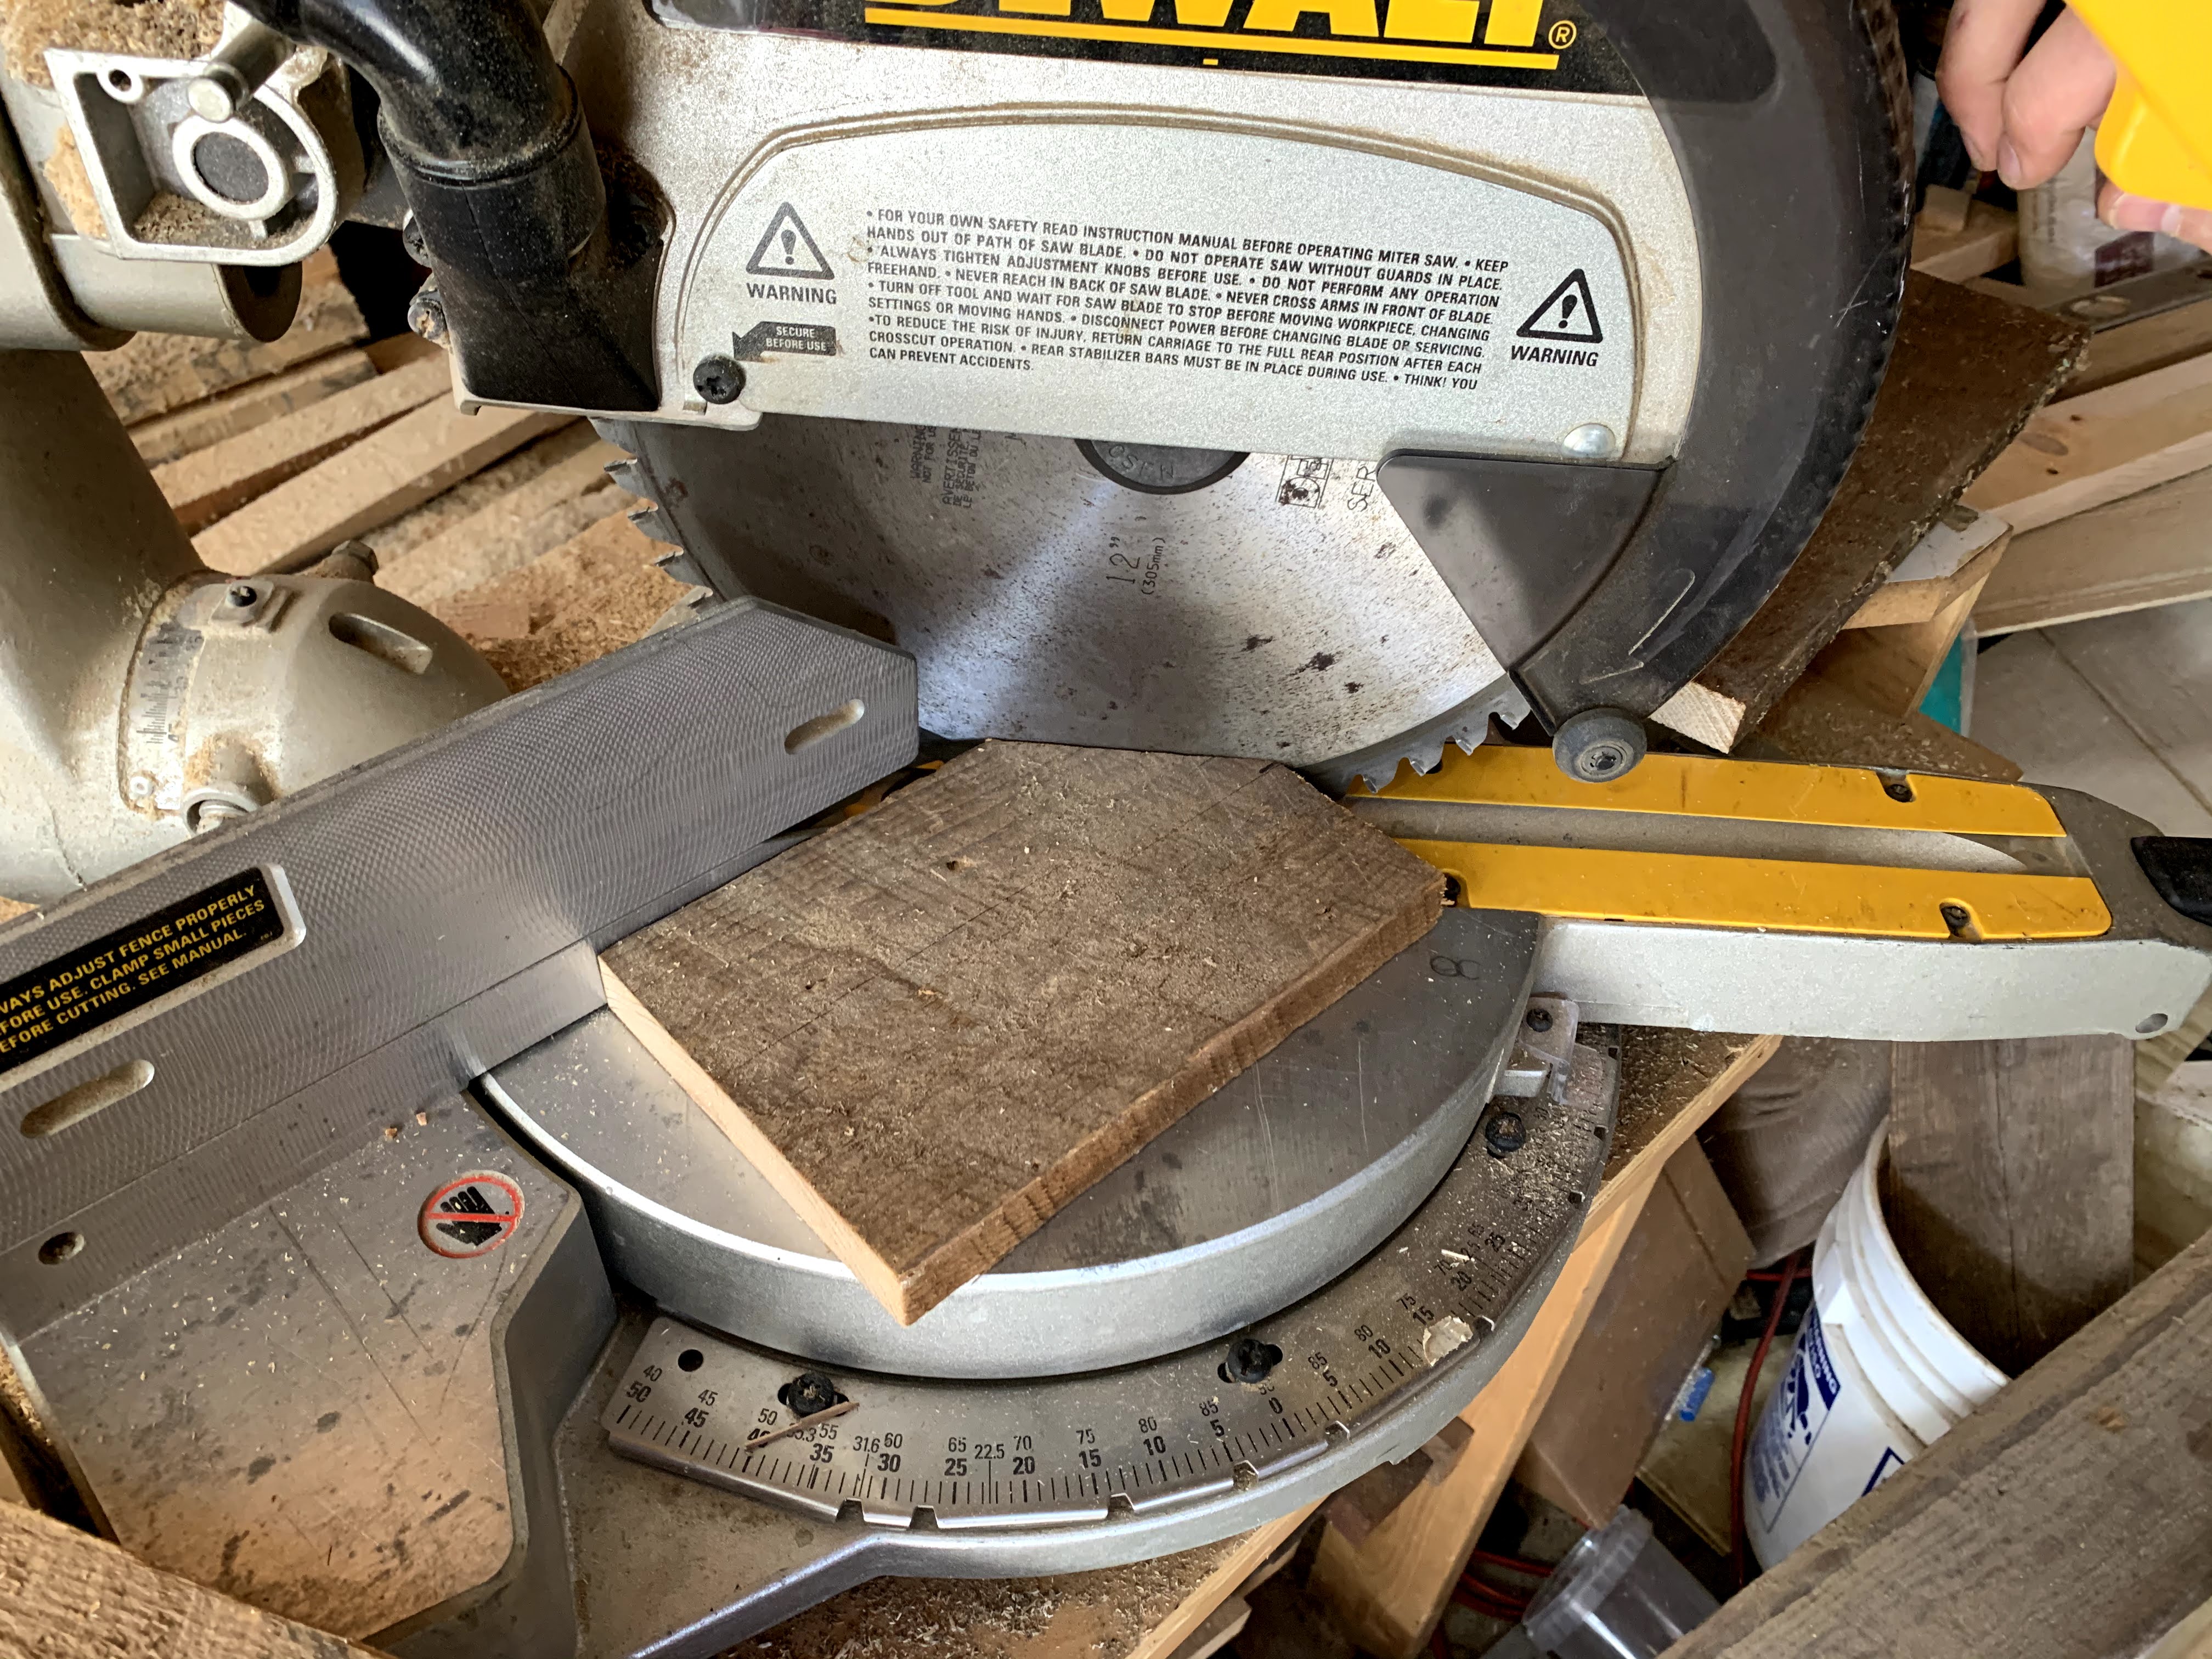
- Next, take the 8” piece of wood and cut it lengthwise so that you have two 1 ½“ wide strips. Your two strips should still be 8” long.
After all your pieces are cut, you should have something like this:
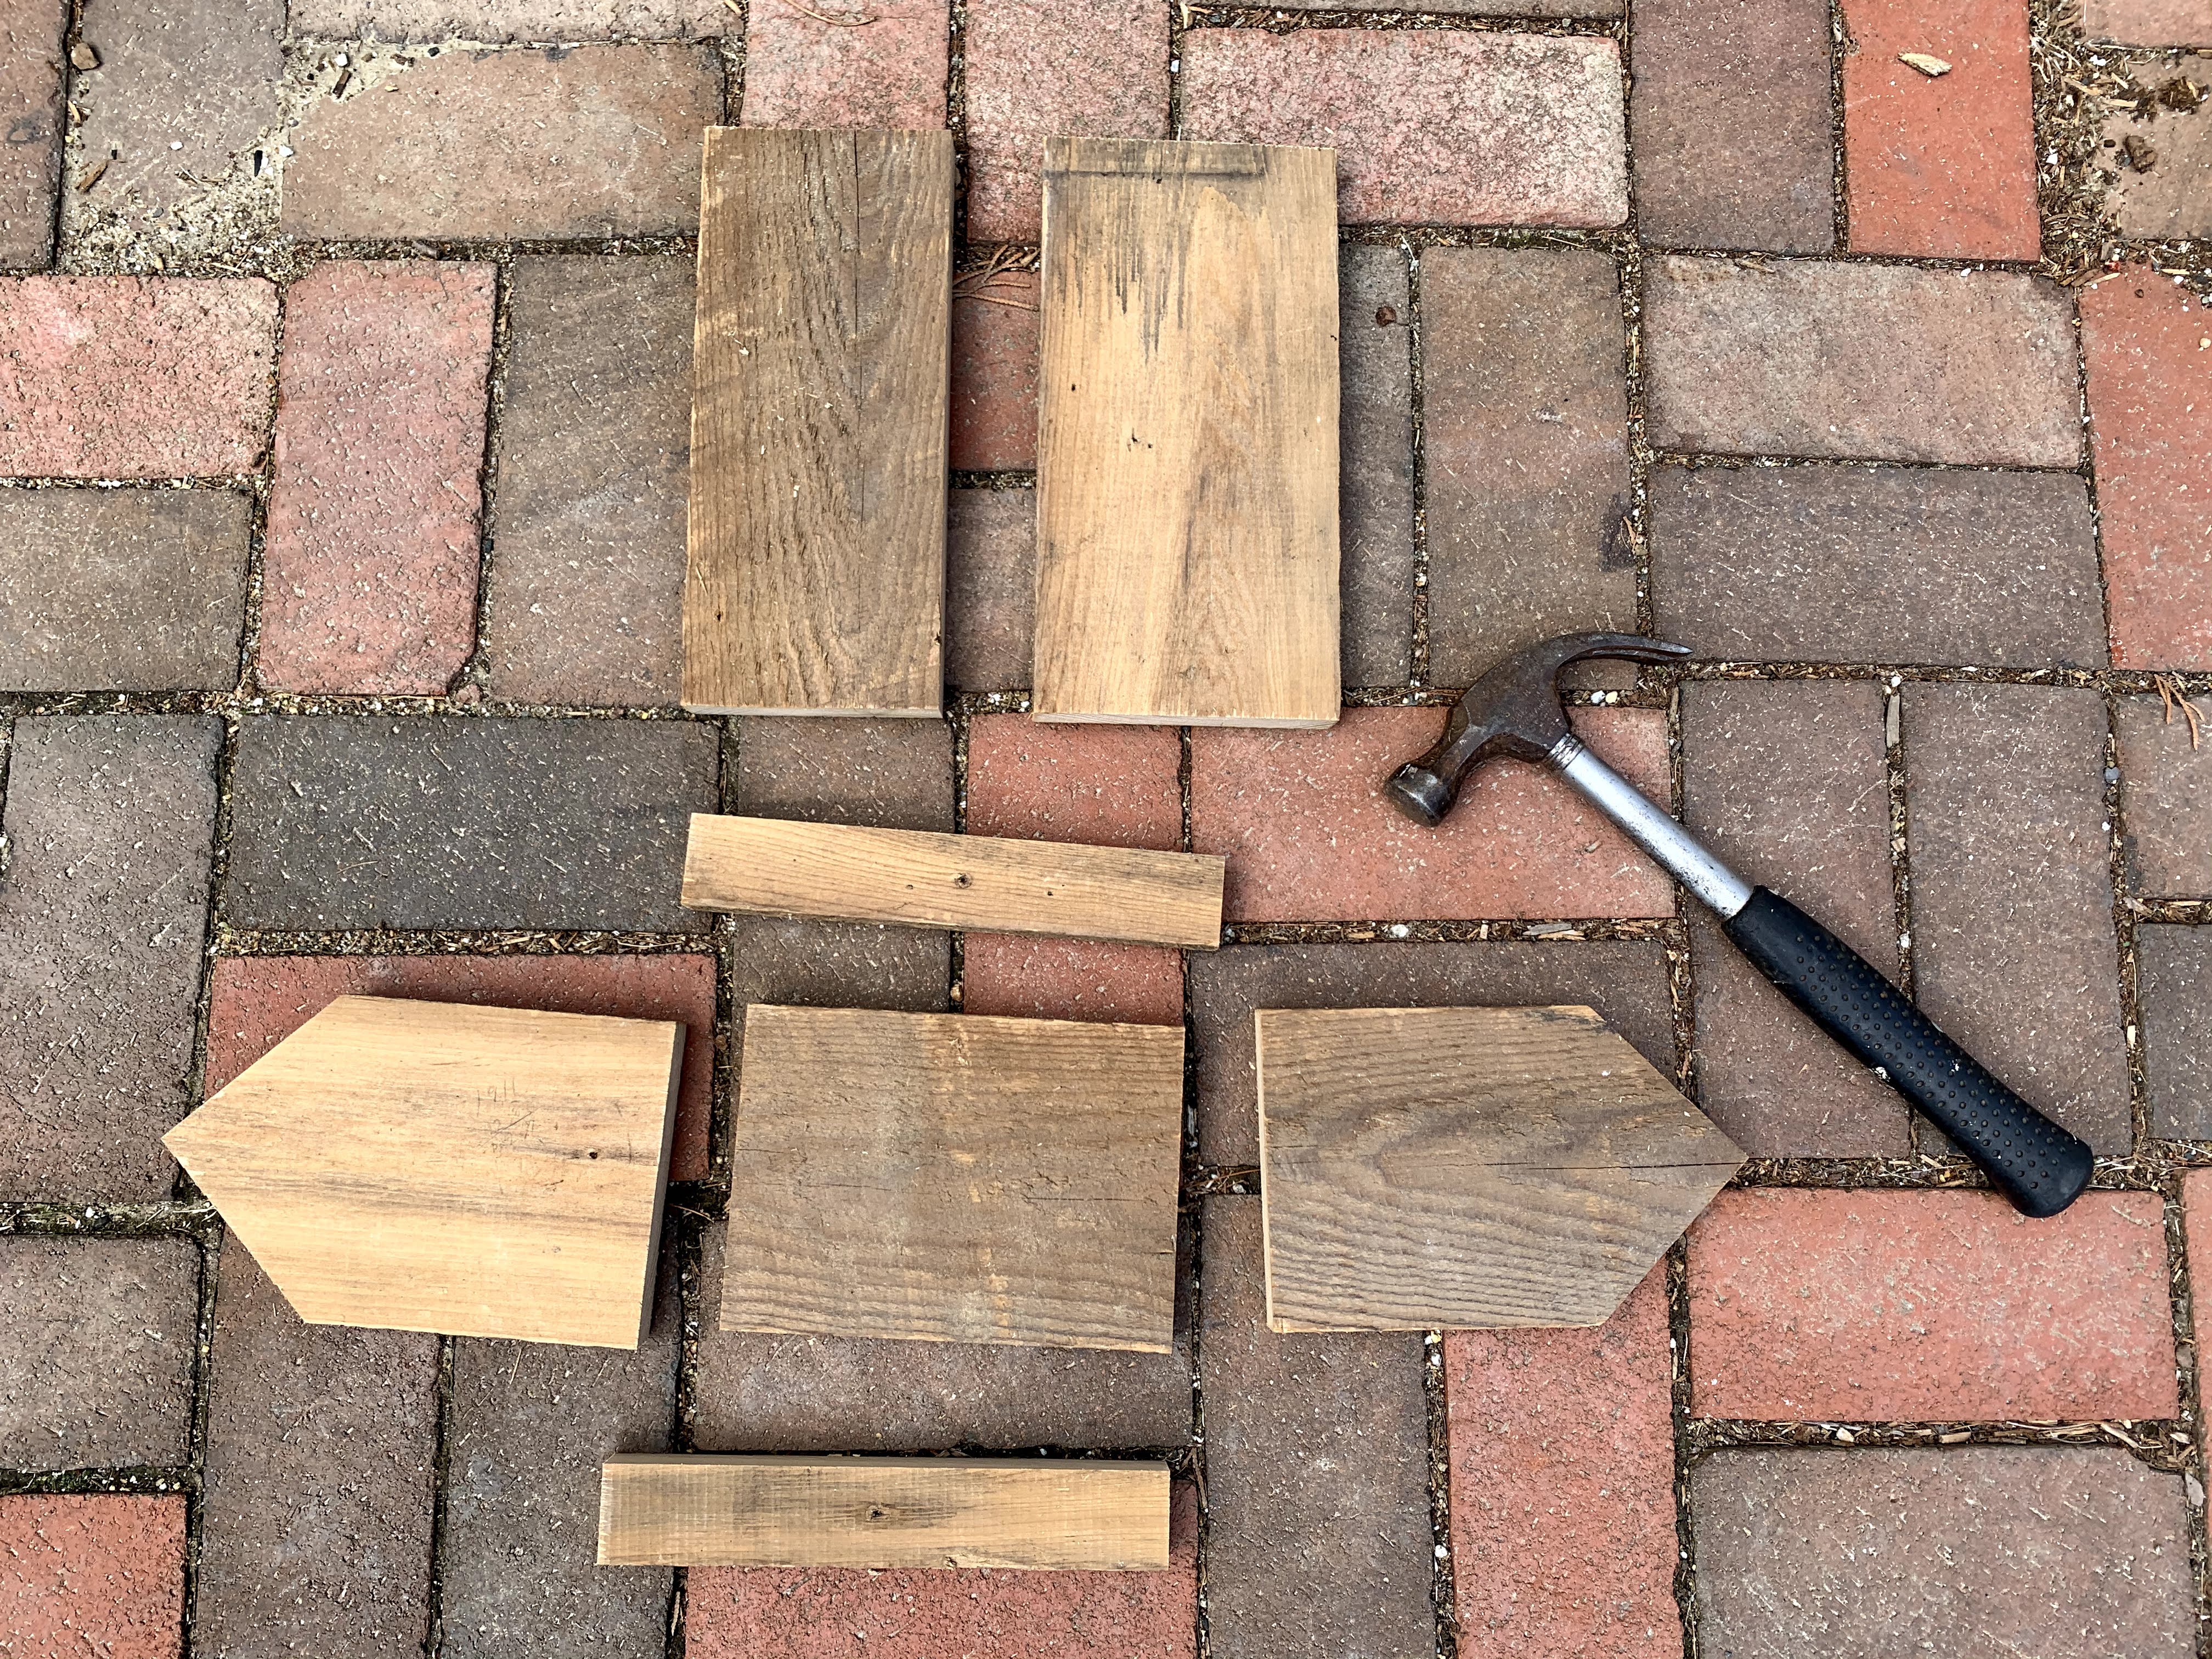
Now it’s time for assembly!
- Nail the two wall pieces to either short end of the floor piece.
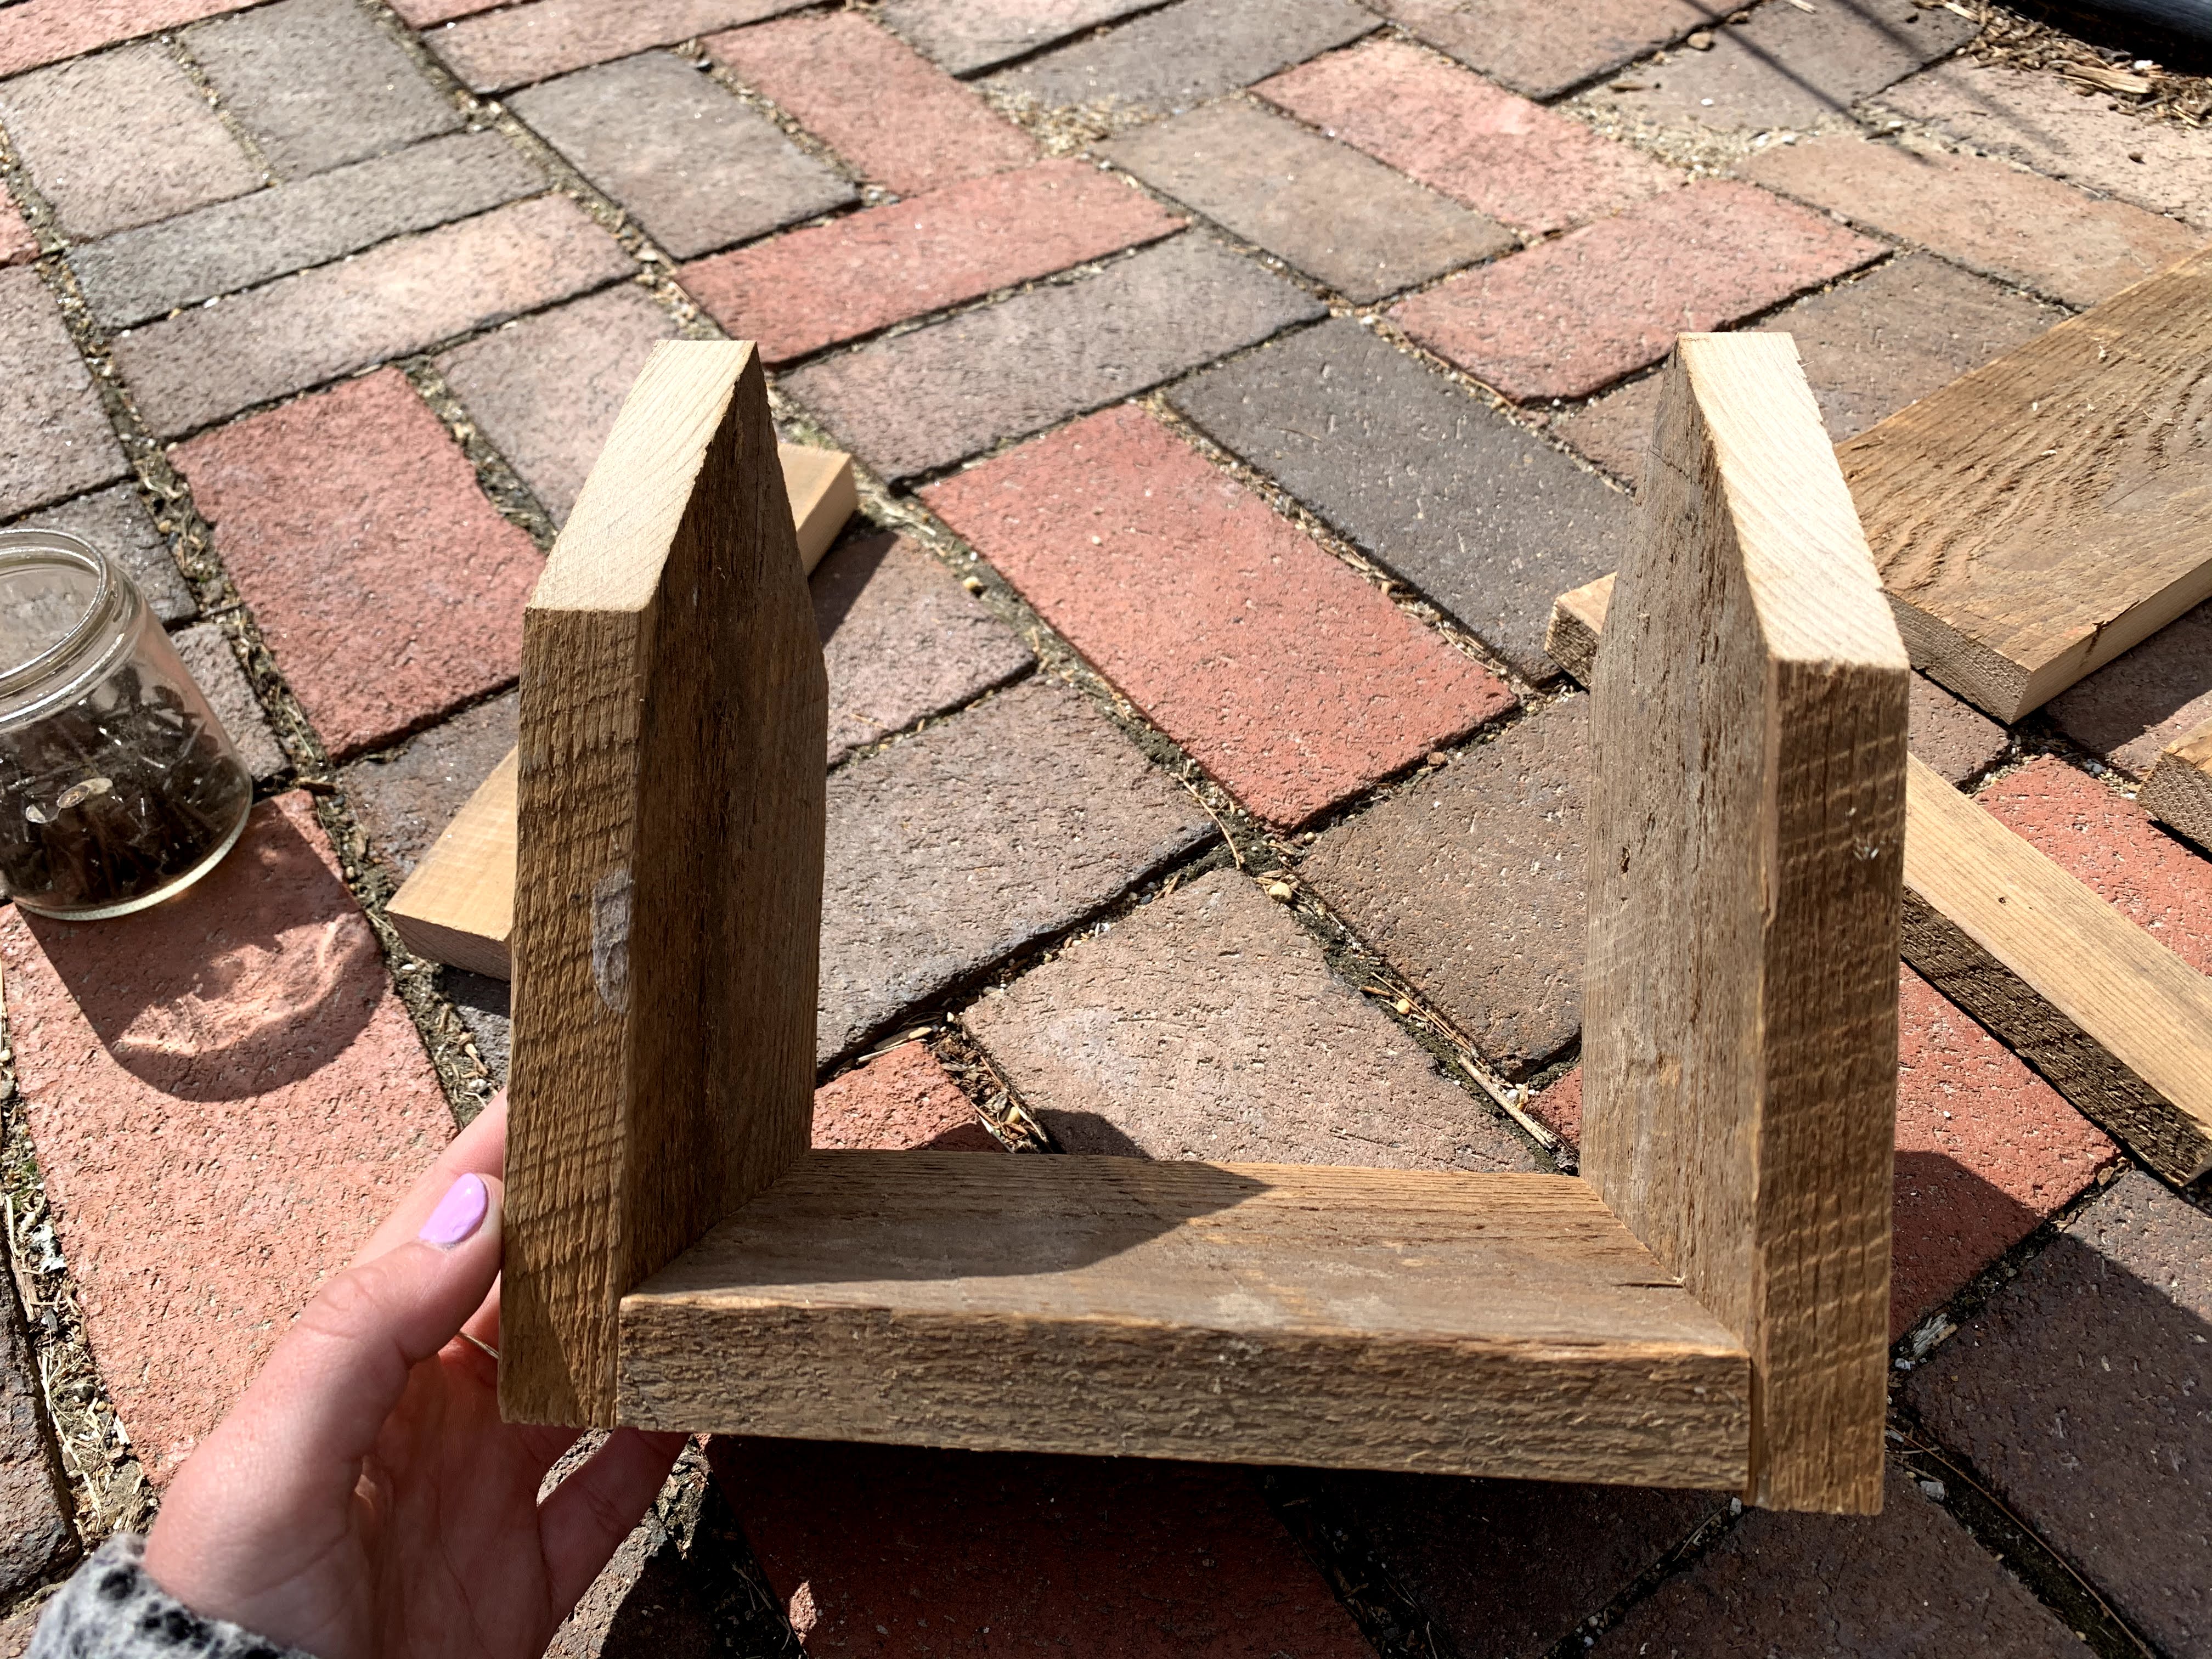
- Nail the two 8” long strips along the long edges of the “floor” piece. This will give the birds somewhere to land and will help to keep the bird seed in.

- Nail the two roof pieces together so that they create a 90° angle.
- Nail the roof to the top of the walls and the building is done!
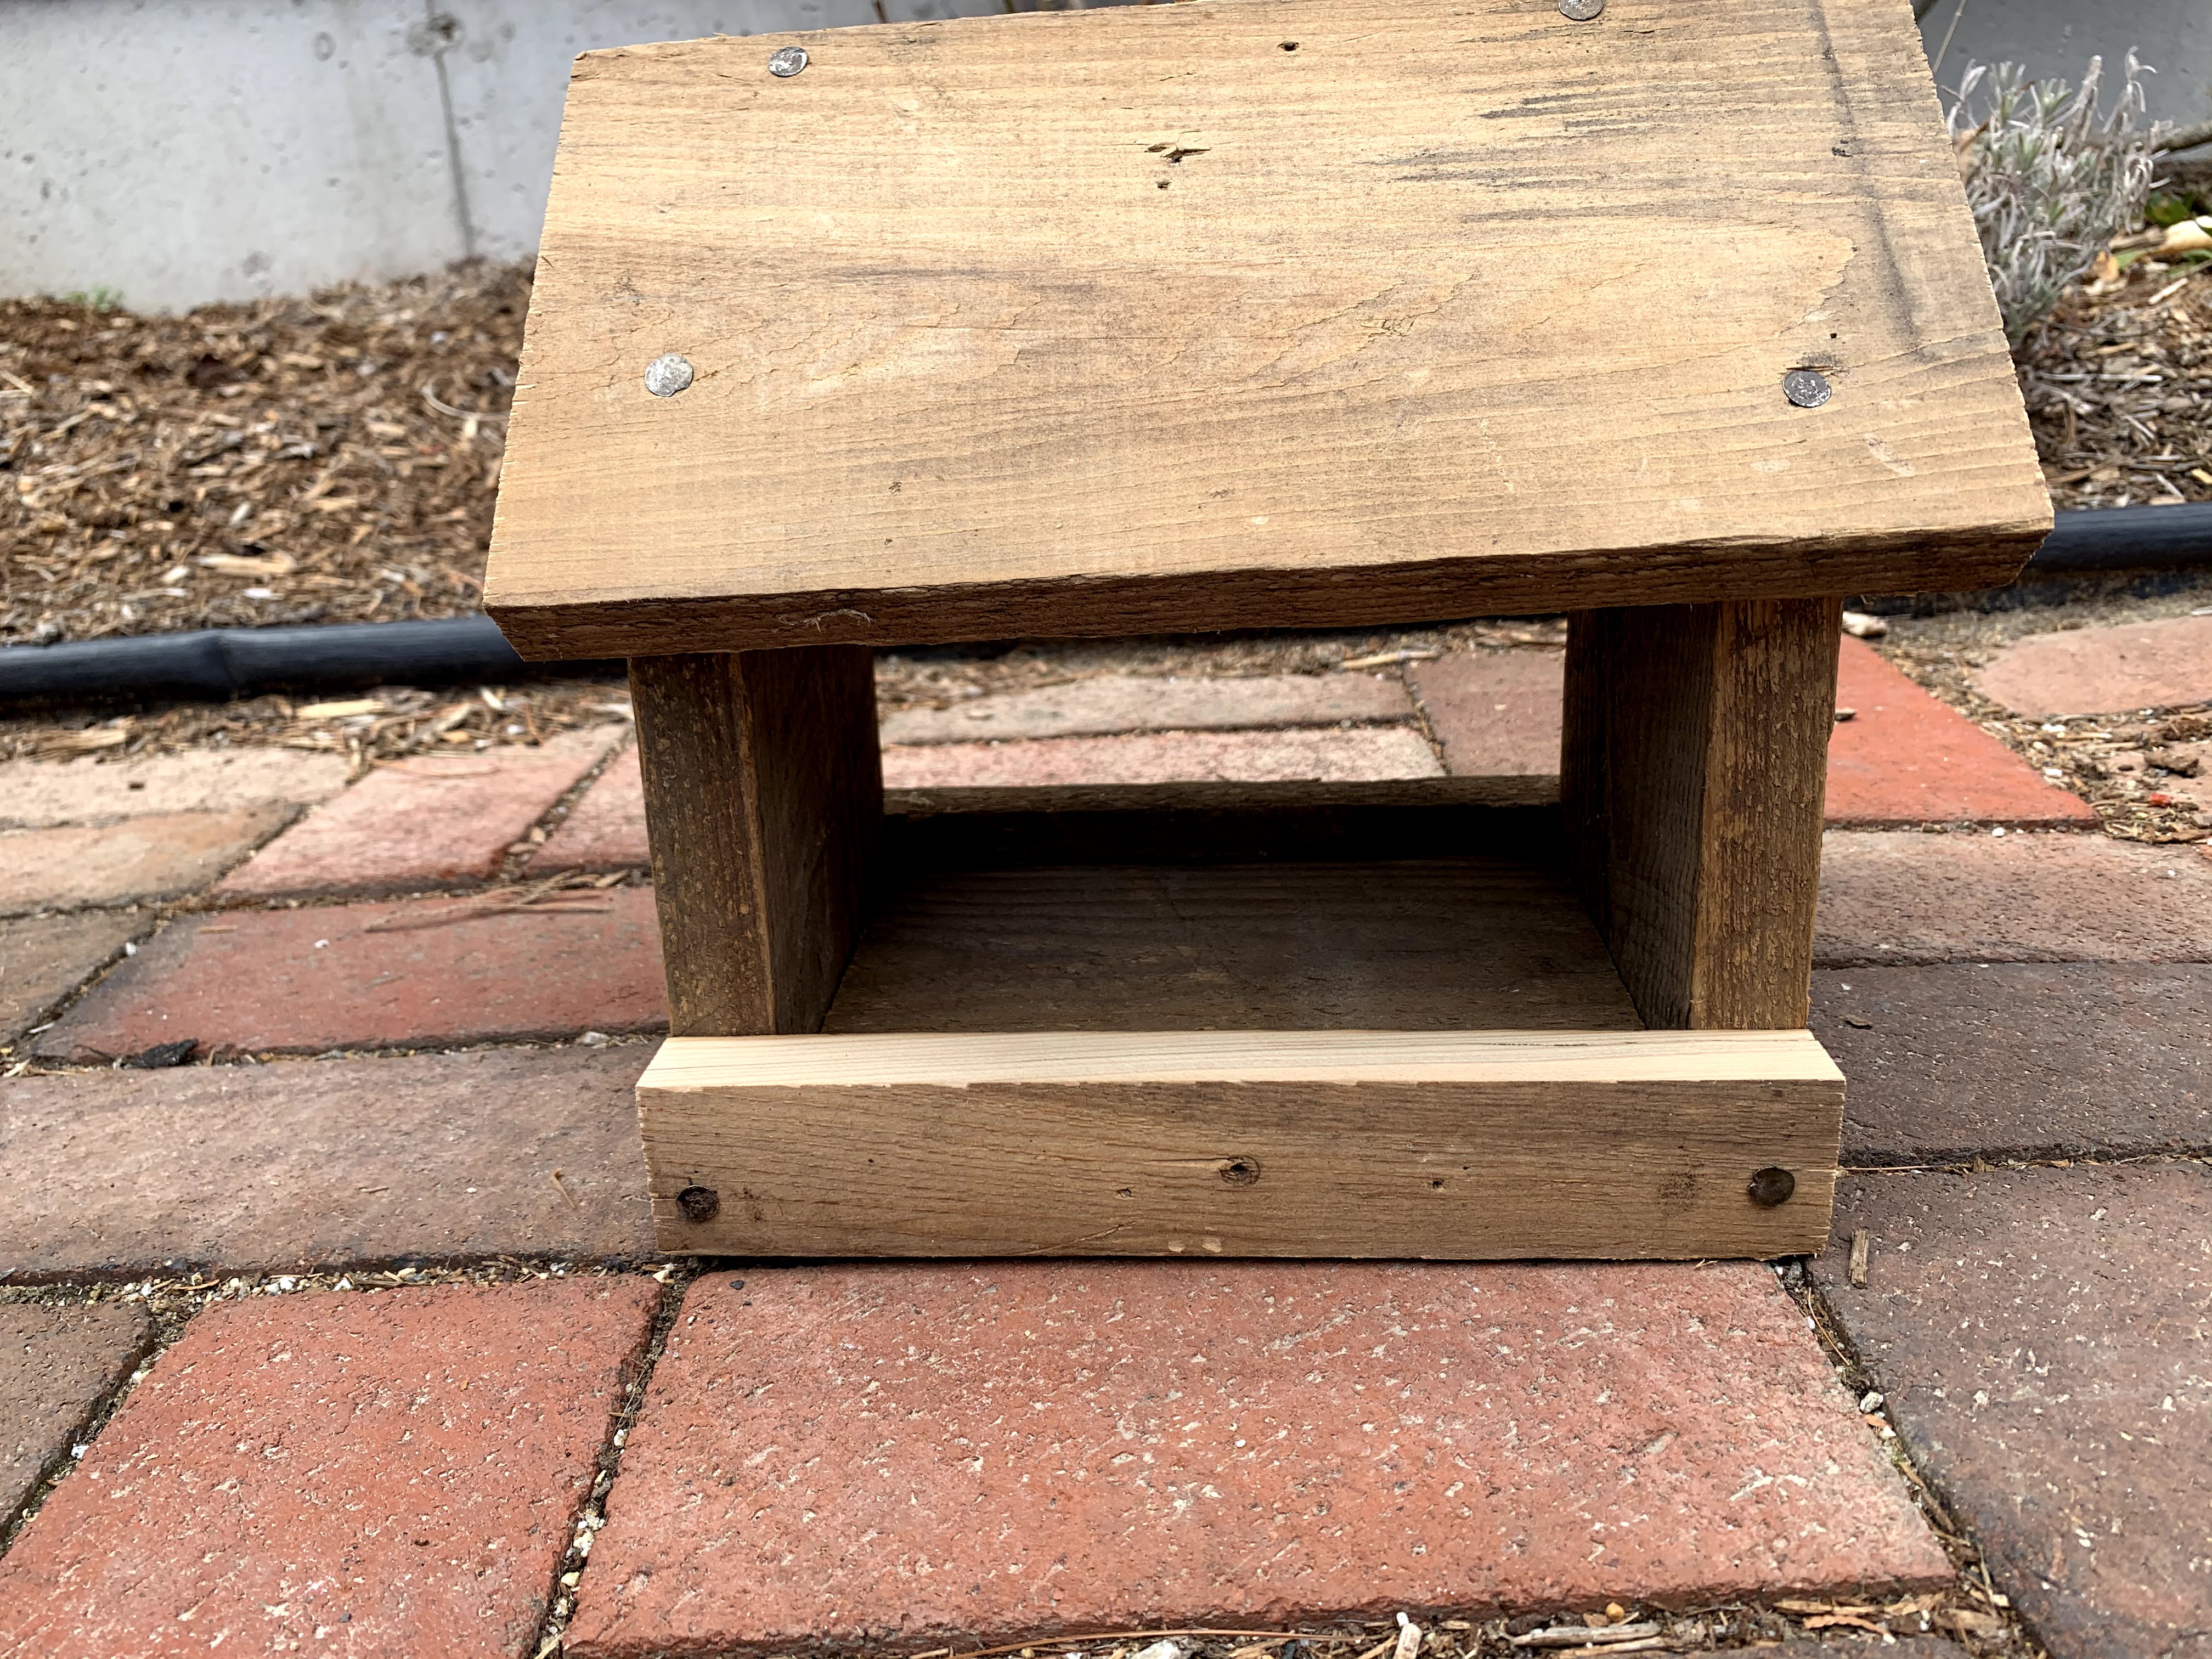
Now that you have the basic structure put together, you can choose to add additional elements. I chose to screw in a hook at the top of my roof so that I could wrap wire around it and hang it up.
I also decided to decorate my birdfeeder with paint, but I think it looks great with natural wood as well.
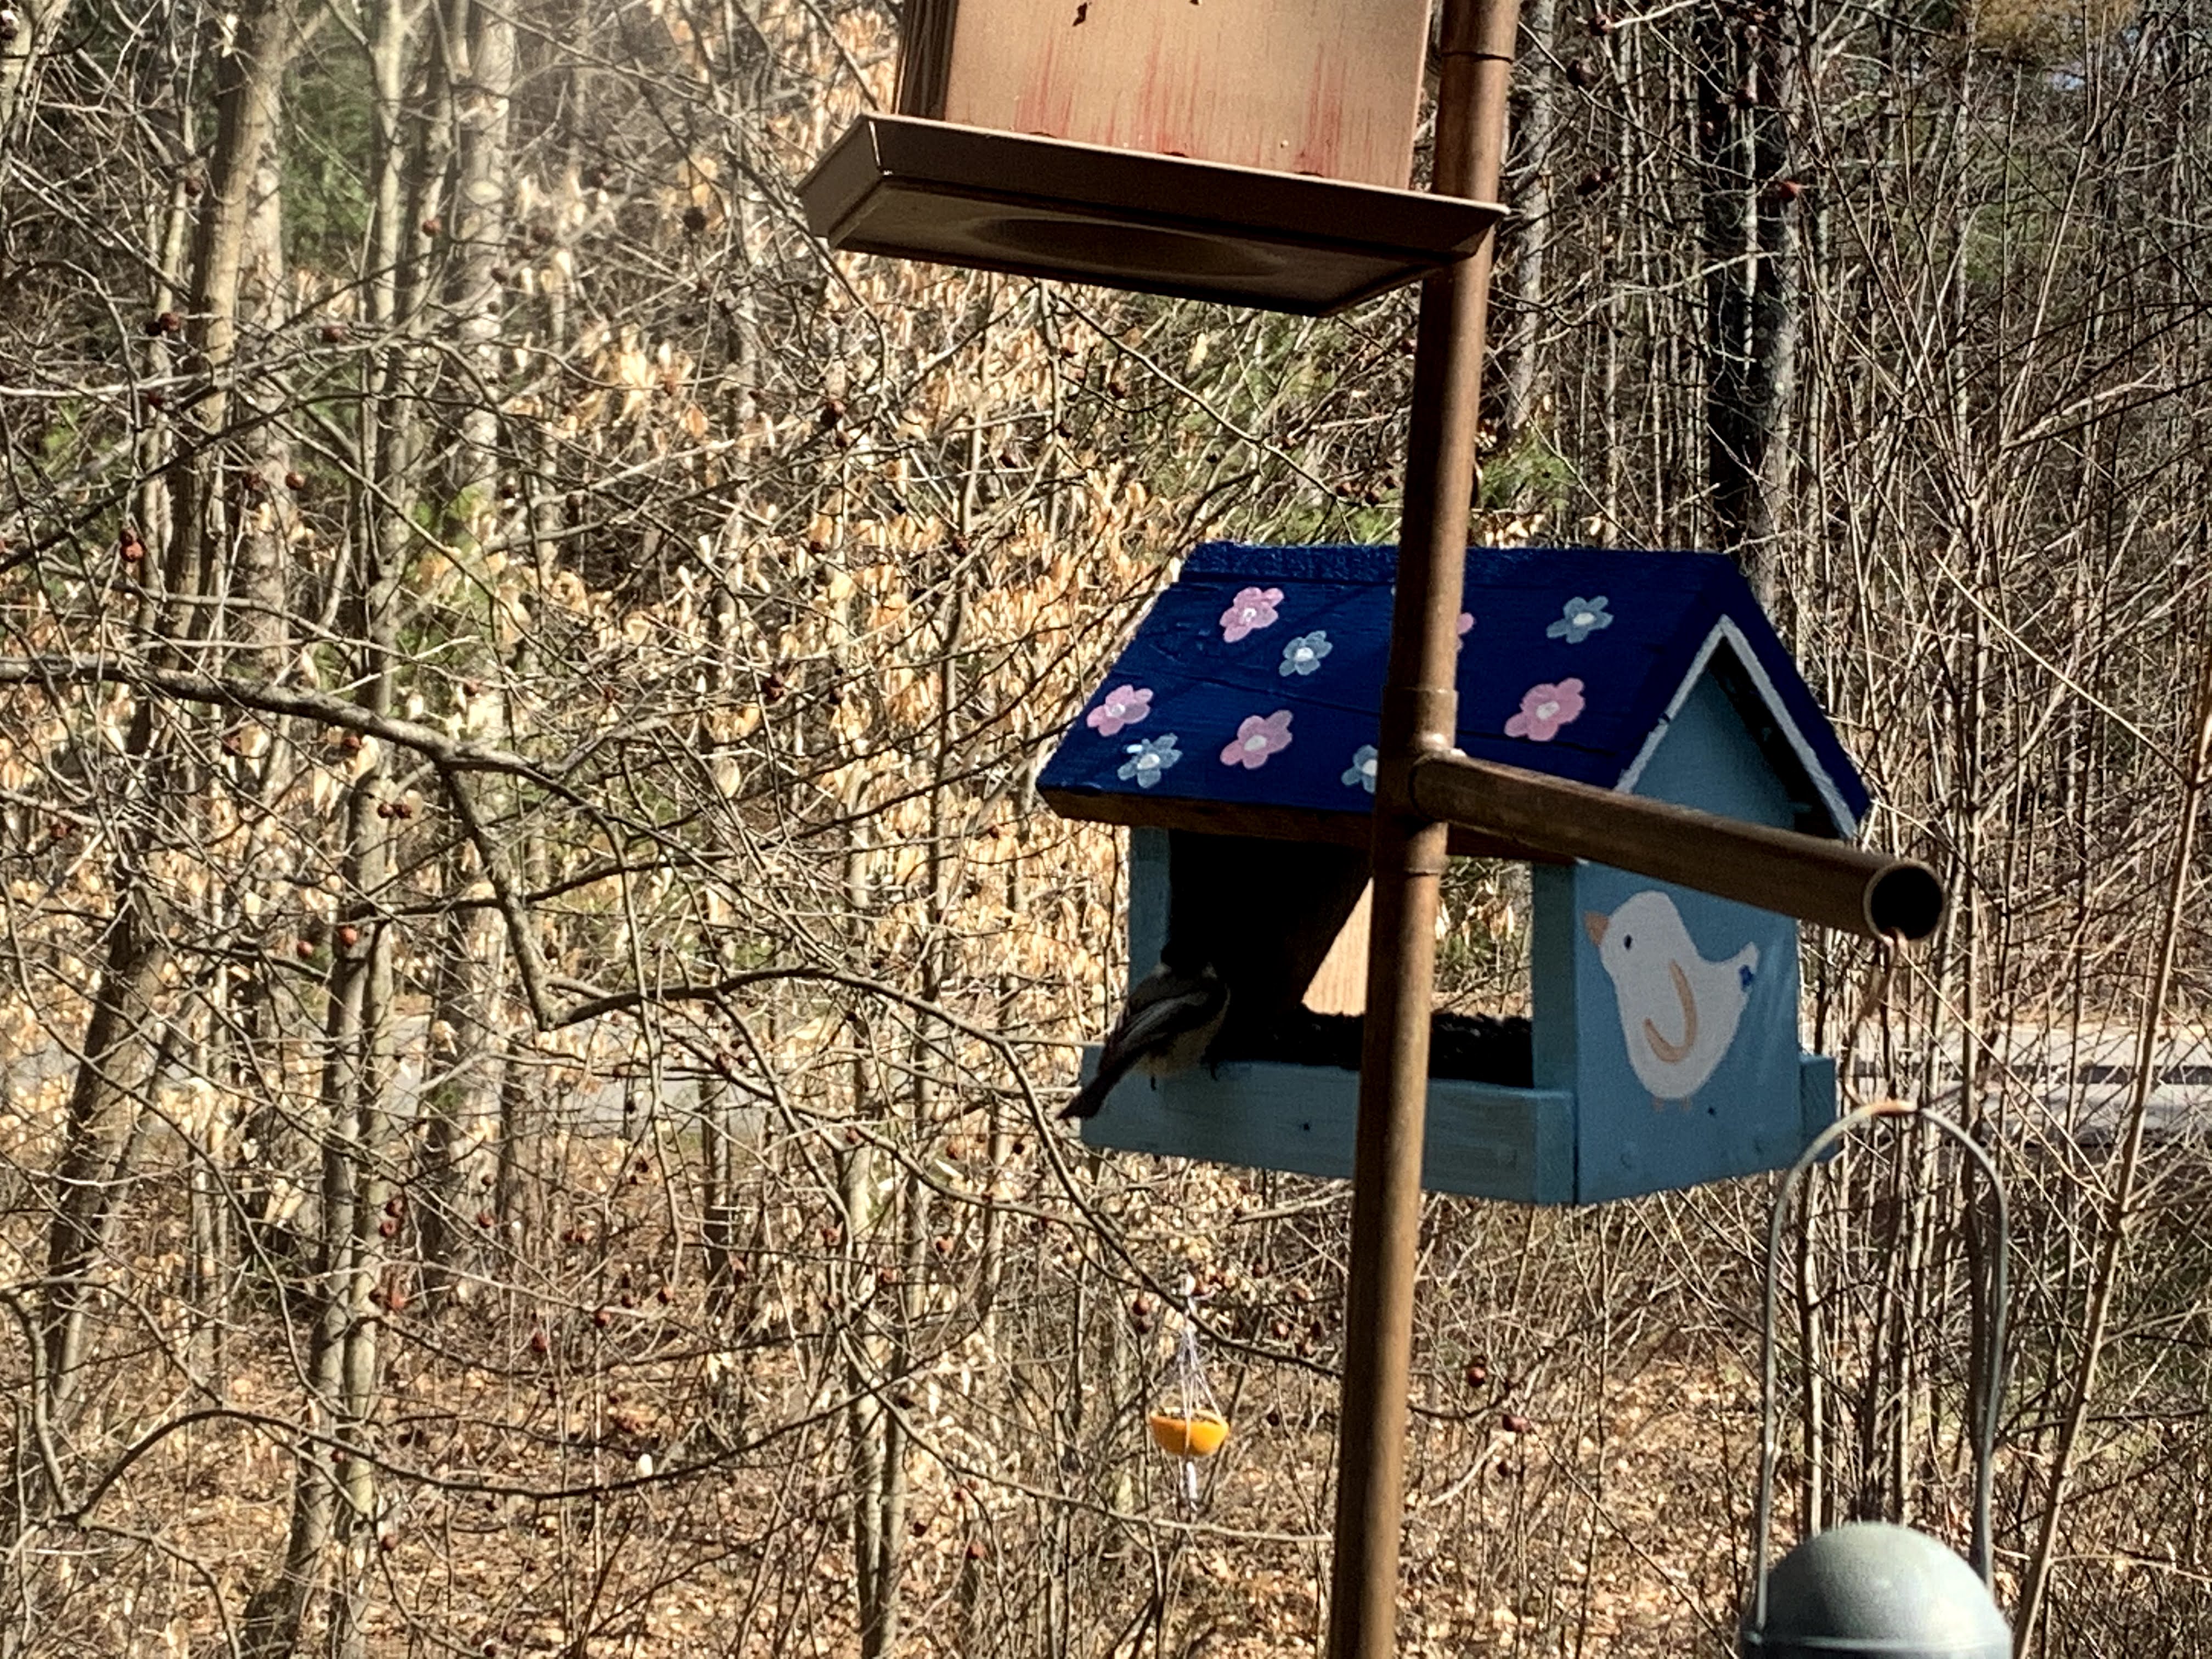
All you need to do now is add birdseed and put it out for birds to enjoy. My first visitor was a chickadee!
If you are not able to access the tools needed for the wooden bird feeder, don’t fret! For this next design, all you will need is an orange and some twine!
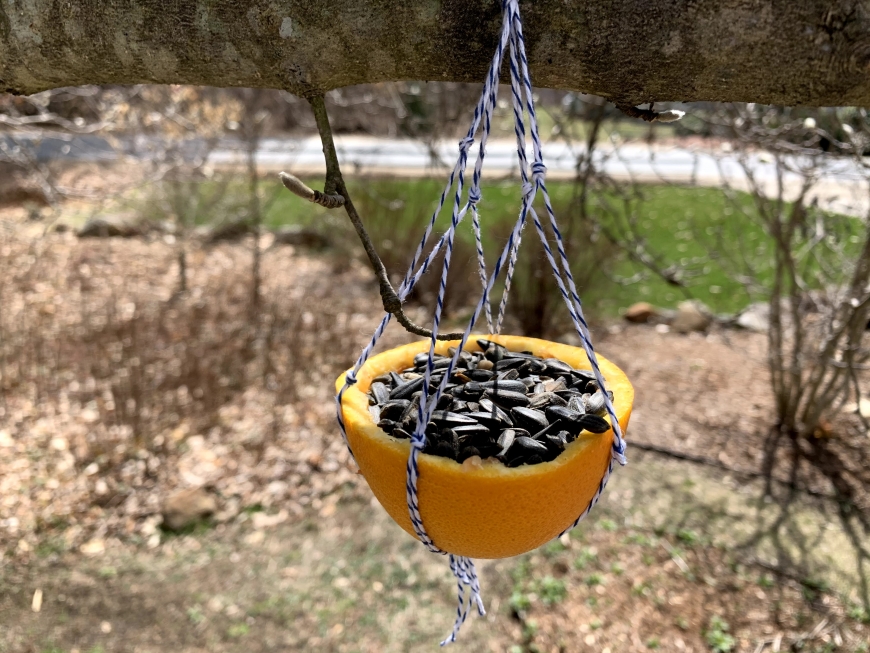
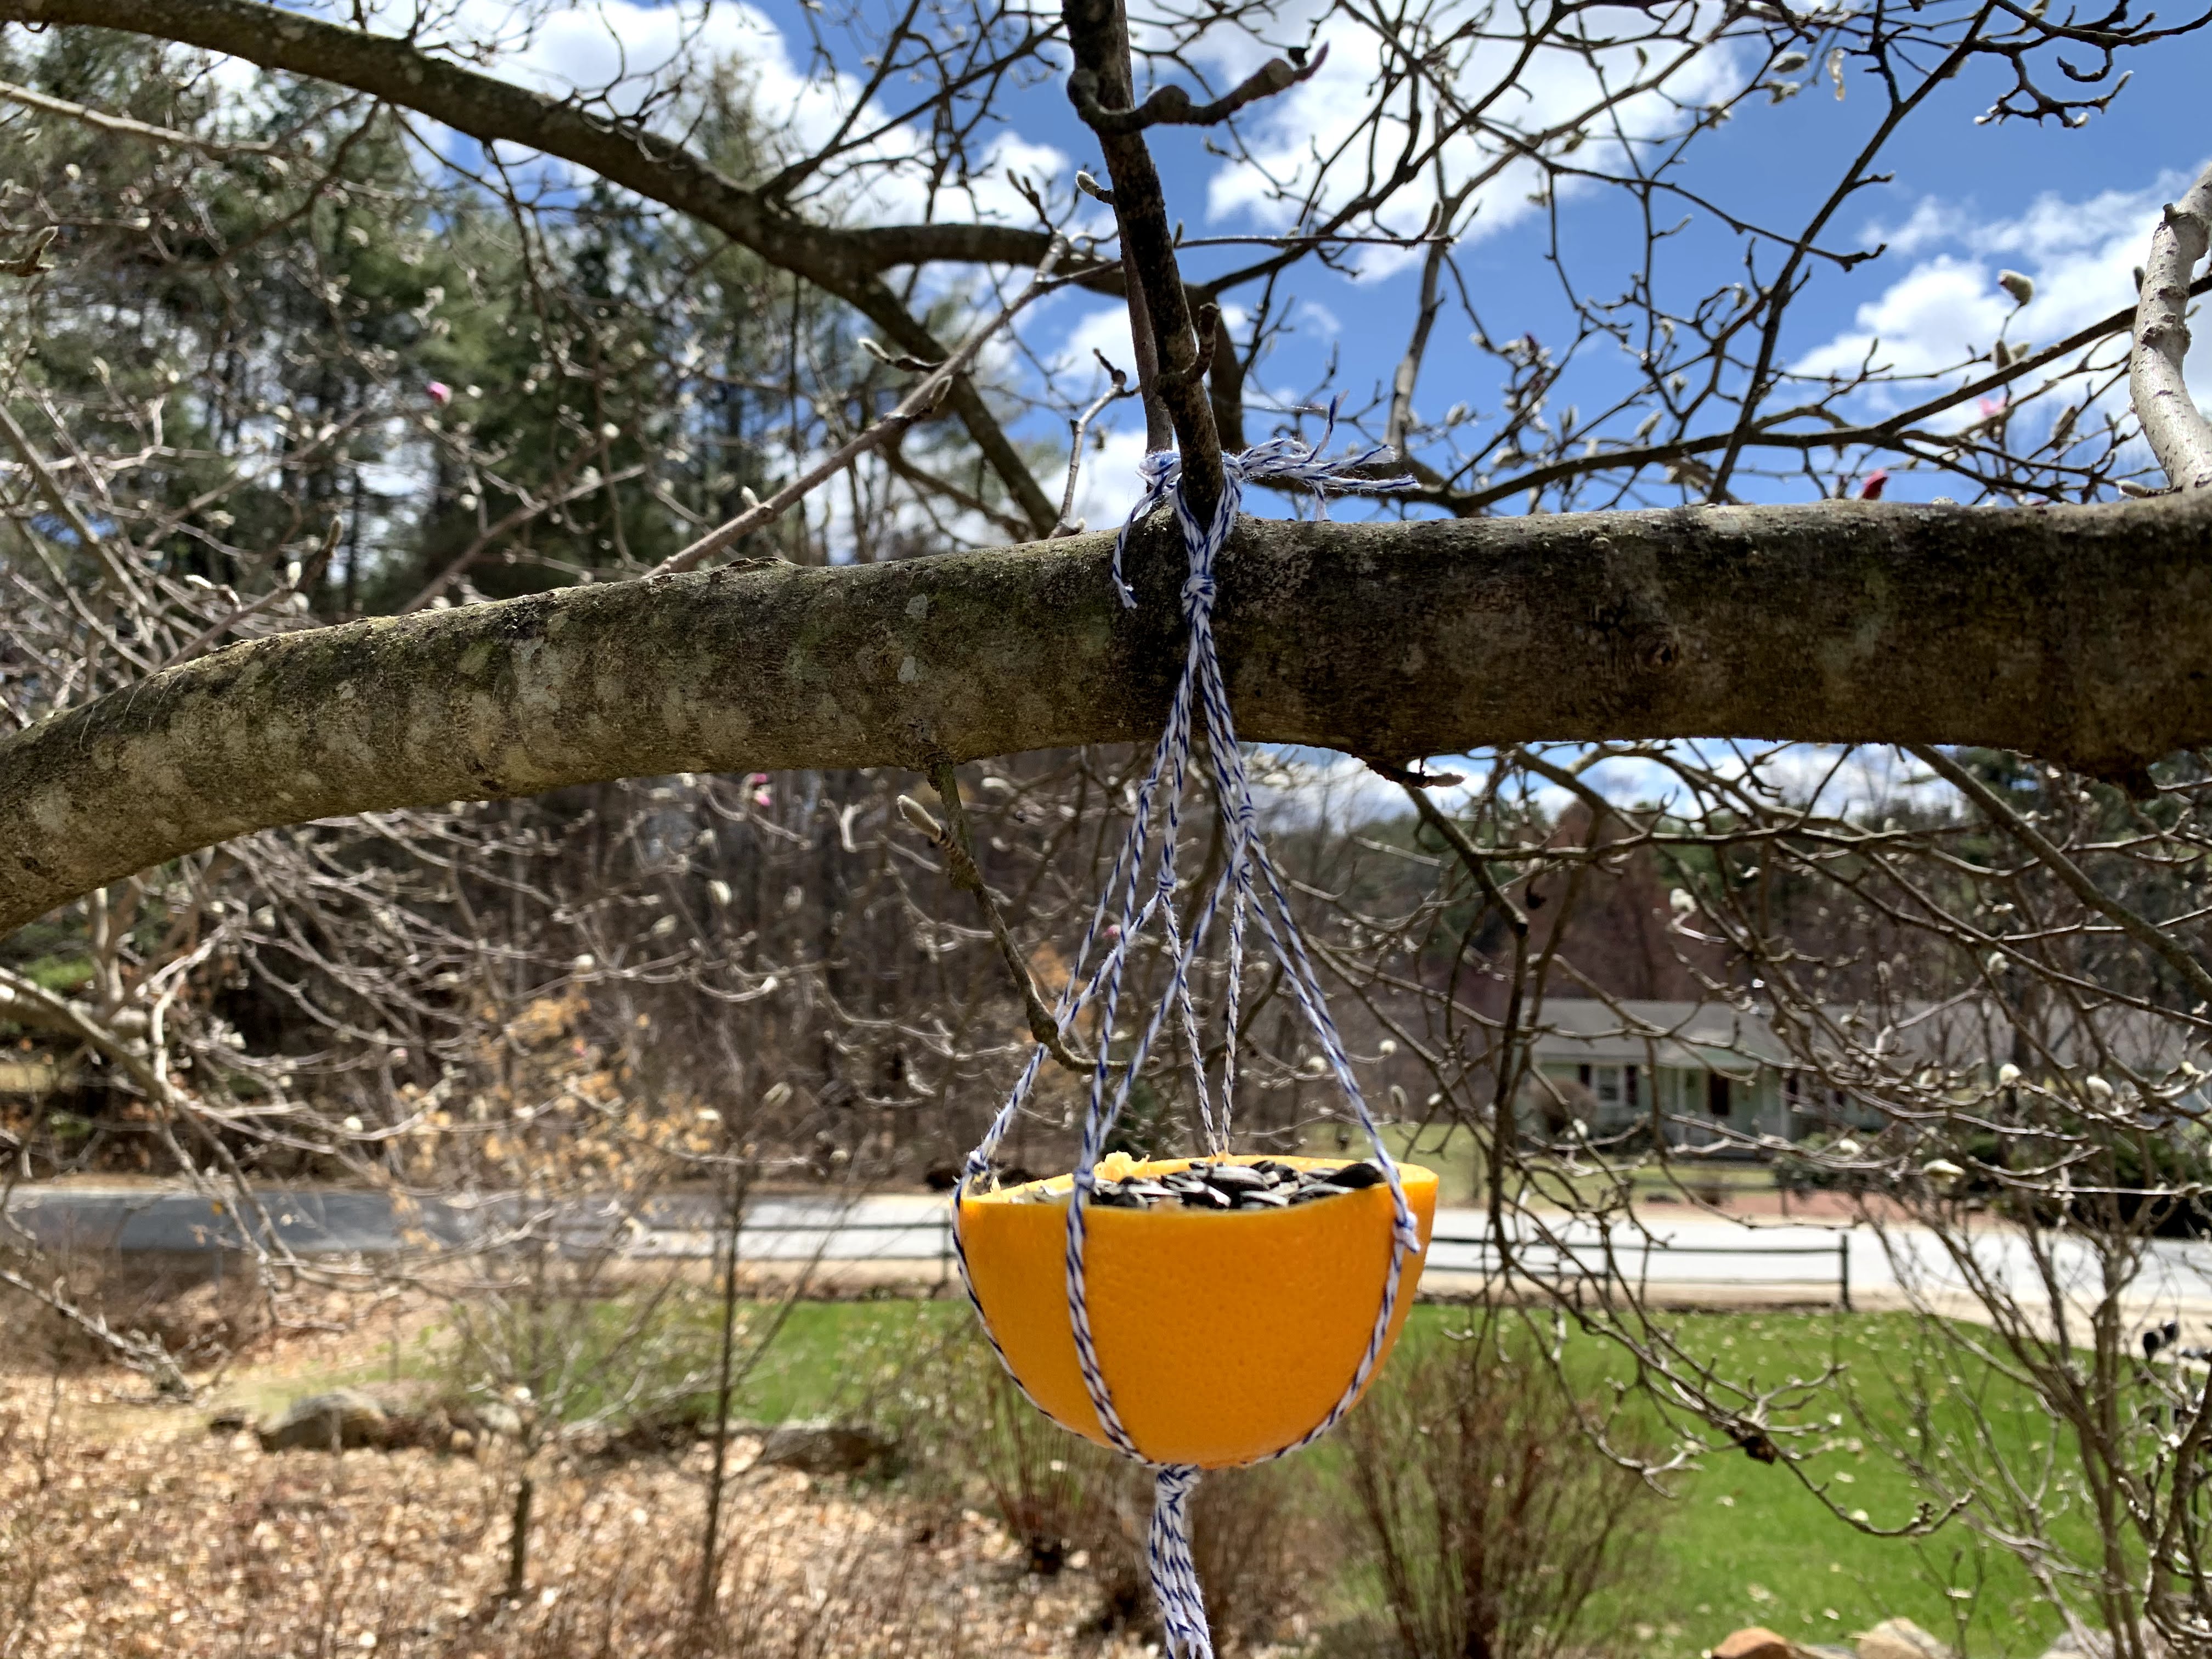
Macramé Orange Bird Feeder
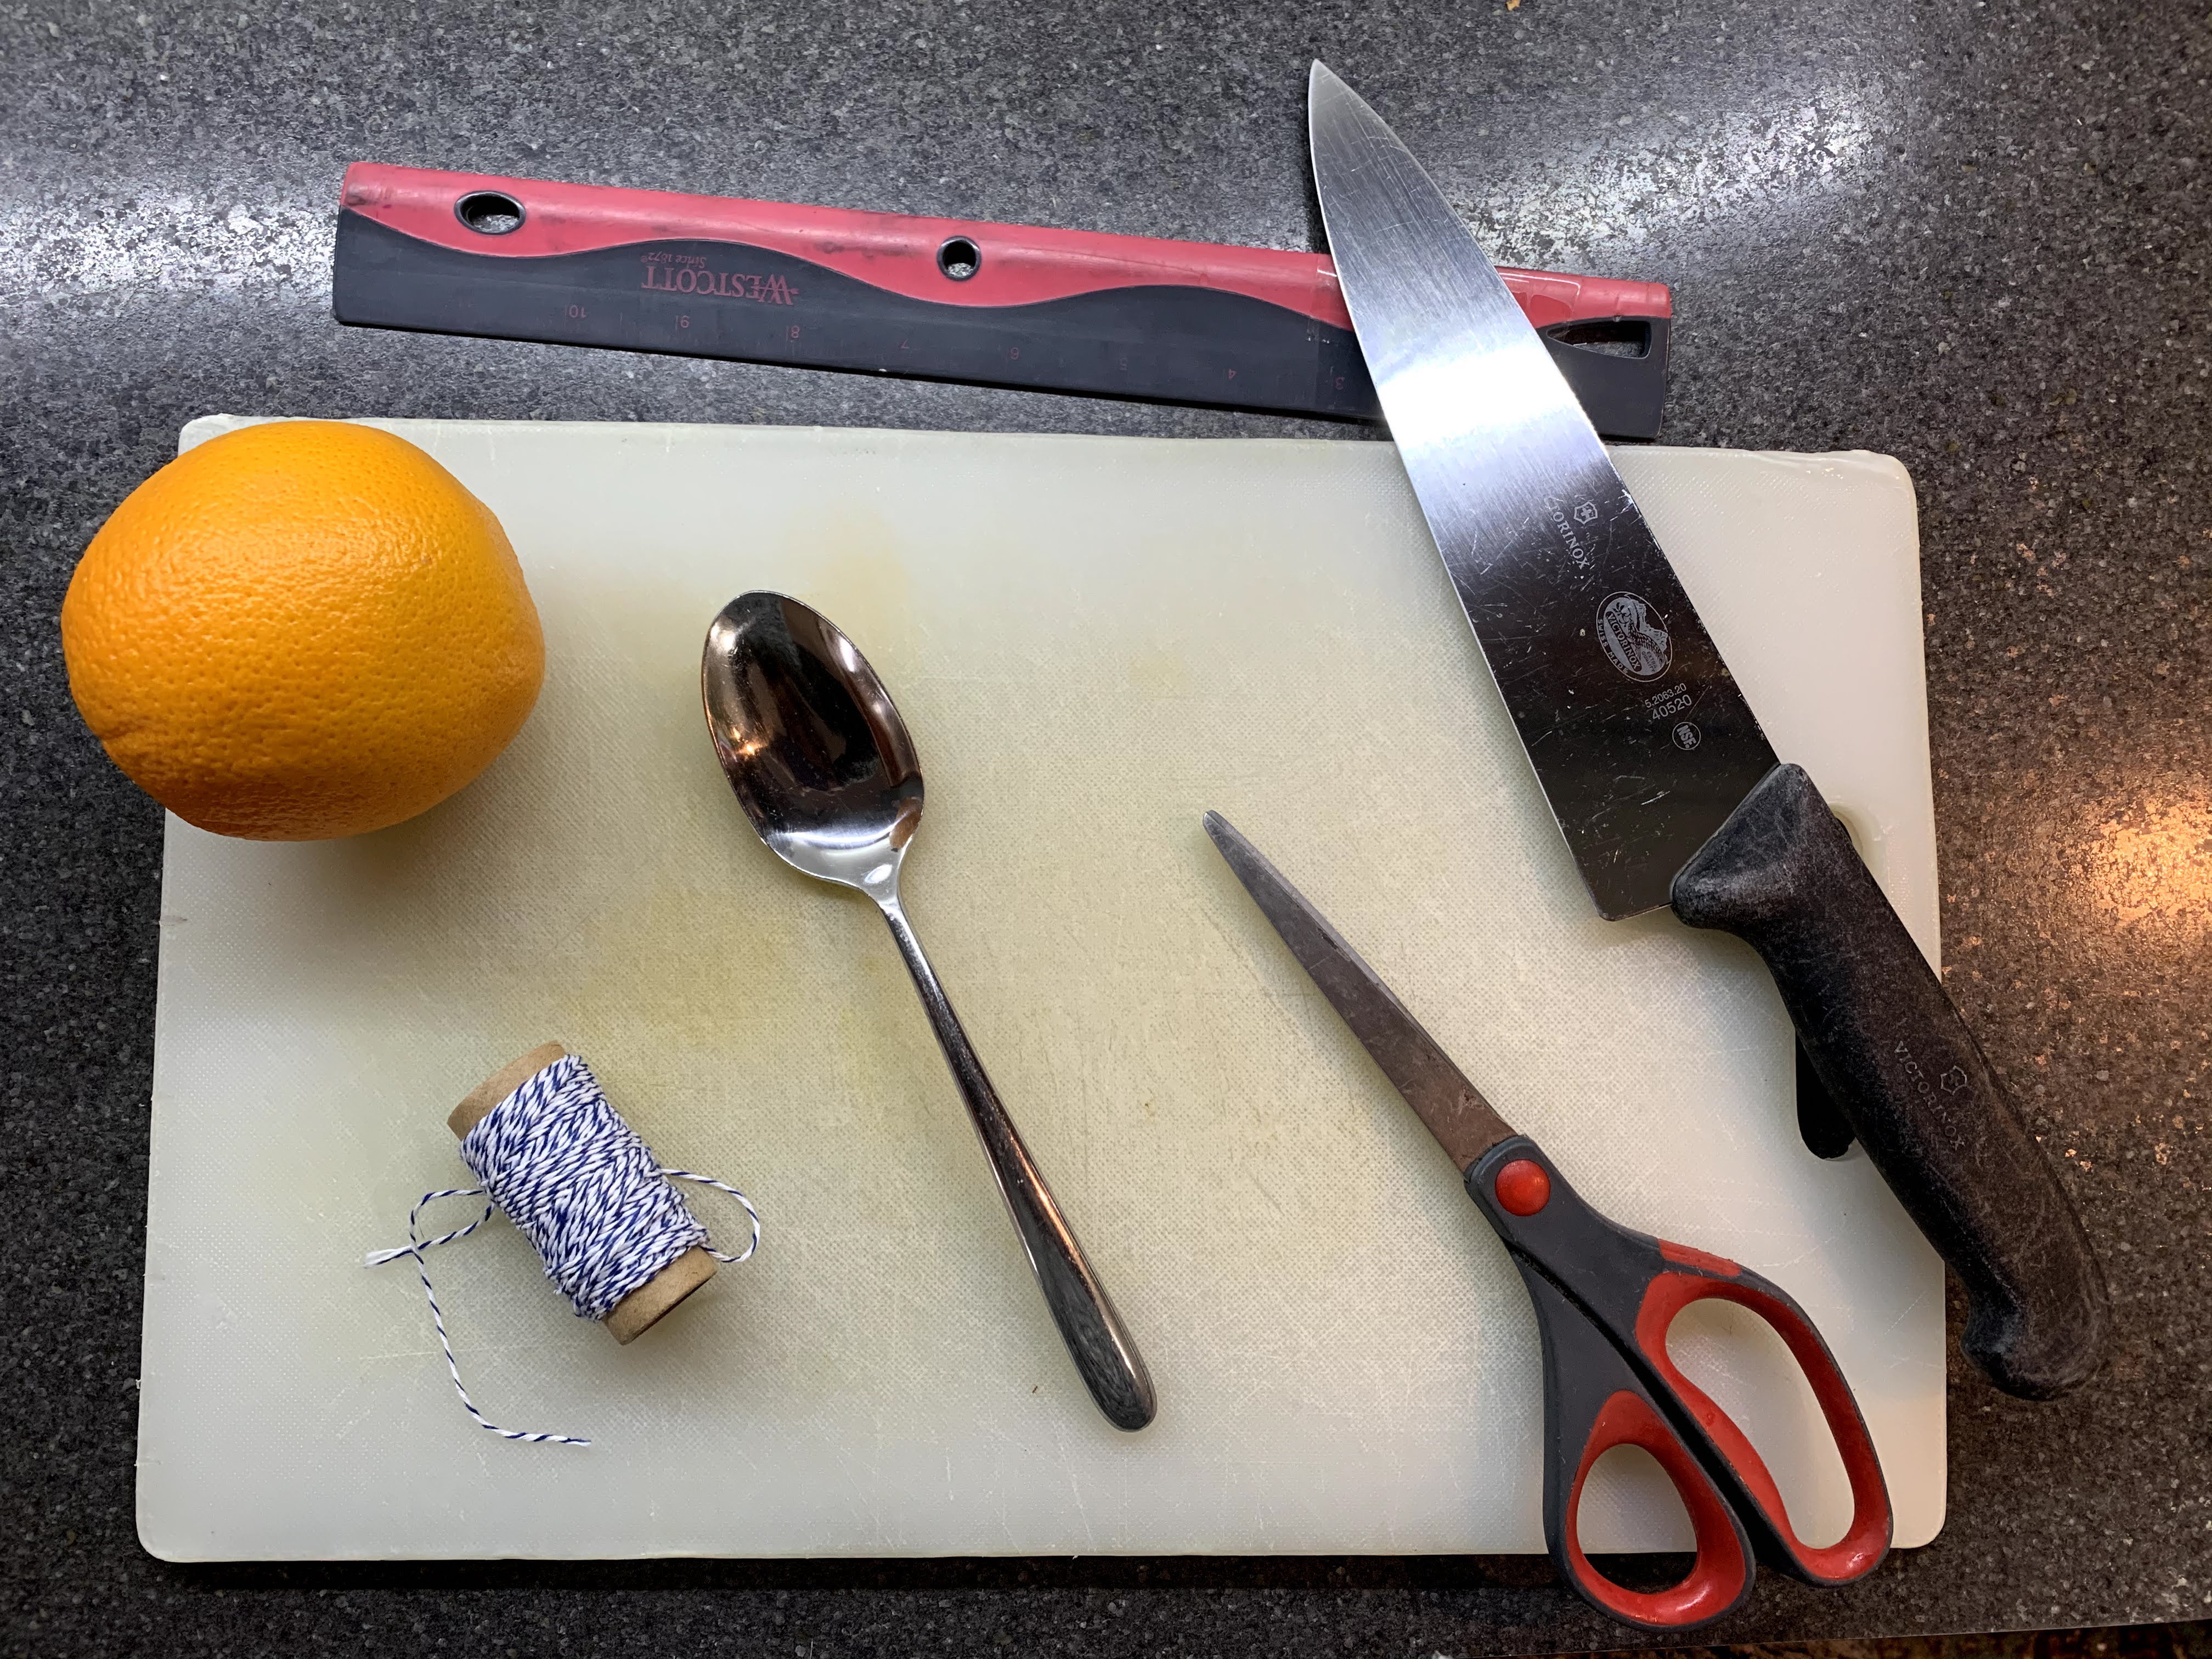
For this feeder, you will need:
- 1 orange, cut in half
- A ruler
- Scissors
- Twine (I used both baker’s twine and garden twine)
- A kitchen knife
- A spoon
- Bird Seed
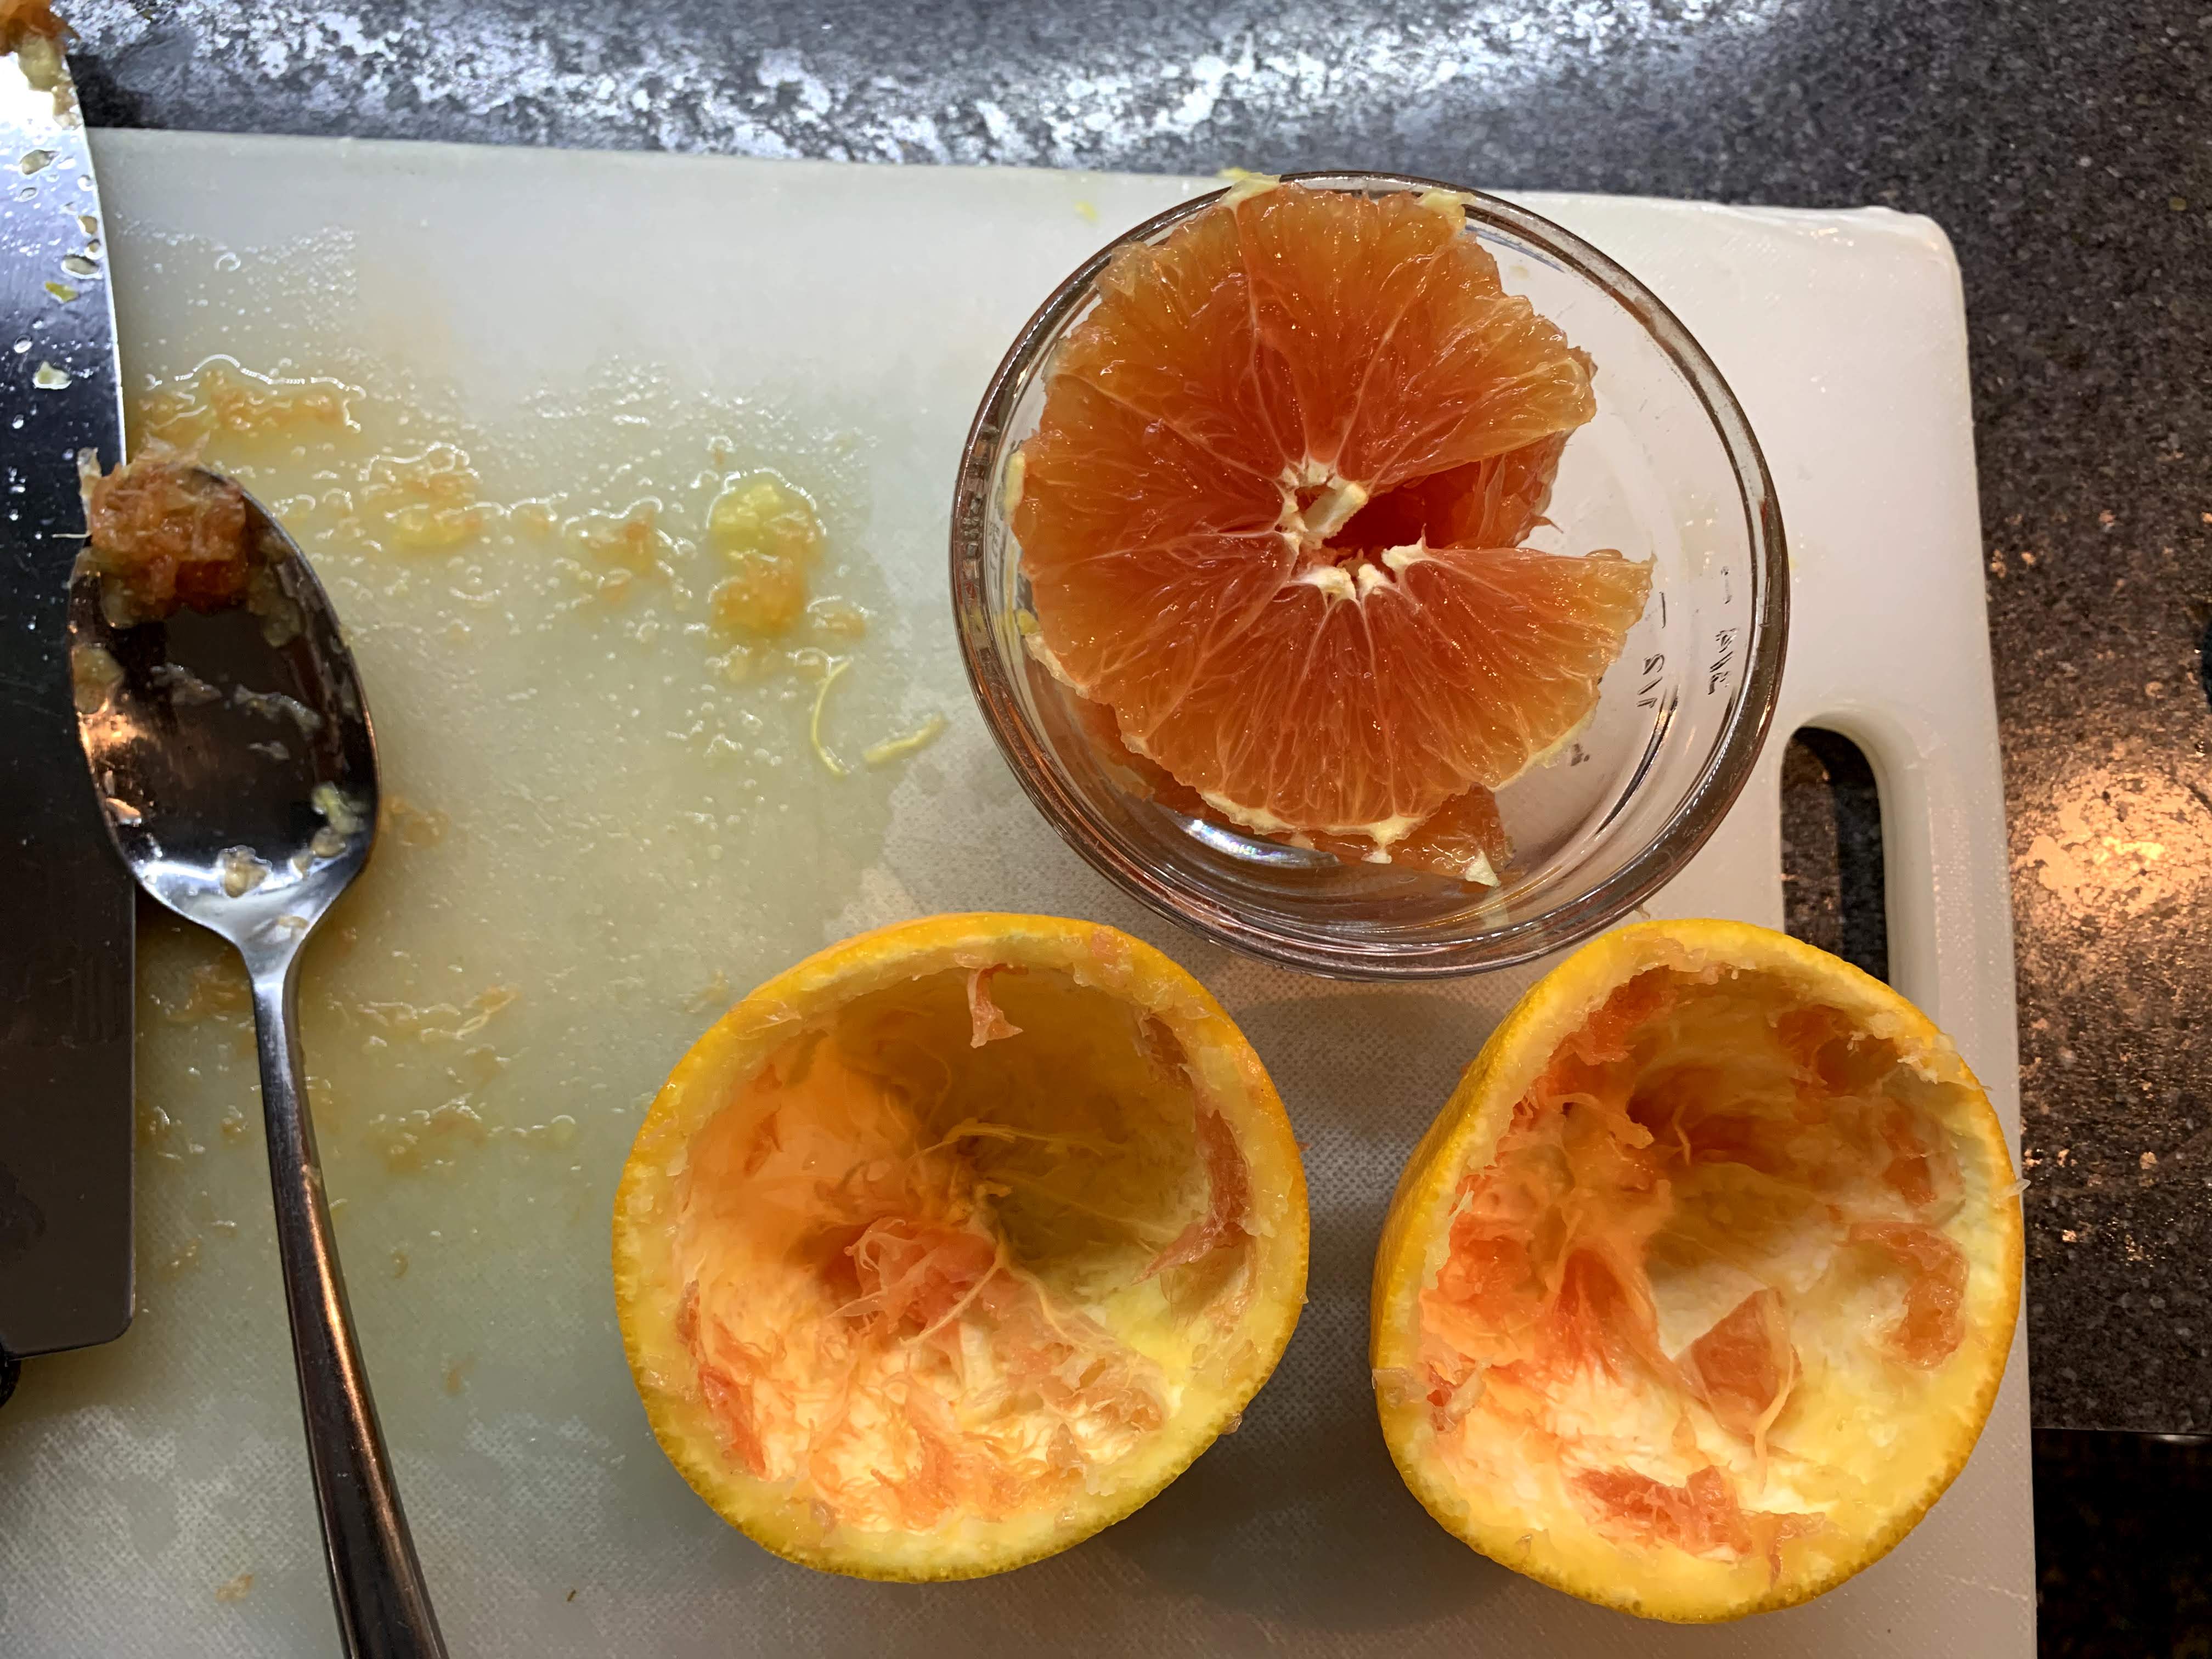
First, we are going to make the basin for the bird seed. To do this, cut the orange in half and use your spoon to scoop out as much of the pulpy fruit as you can. Set the insides aside to snack on later.
Next, we are going to make the macramé hanger.
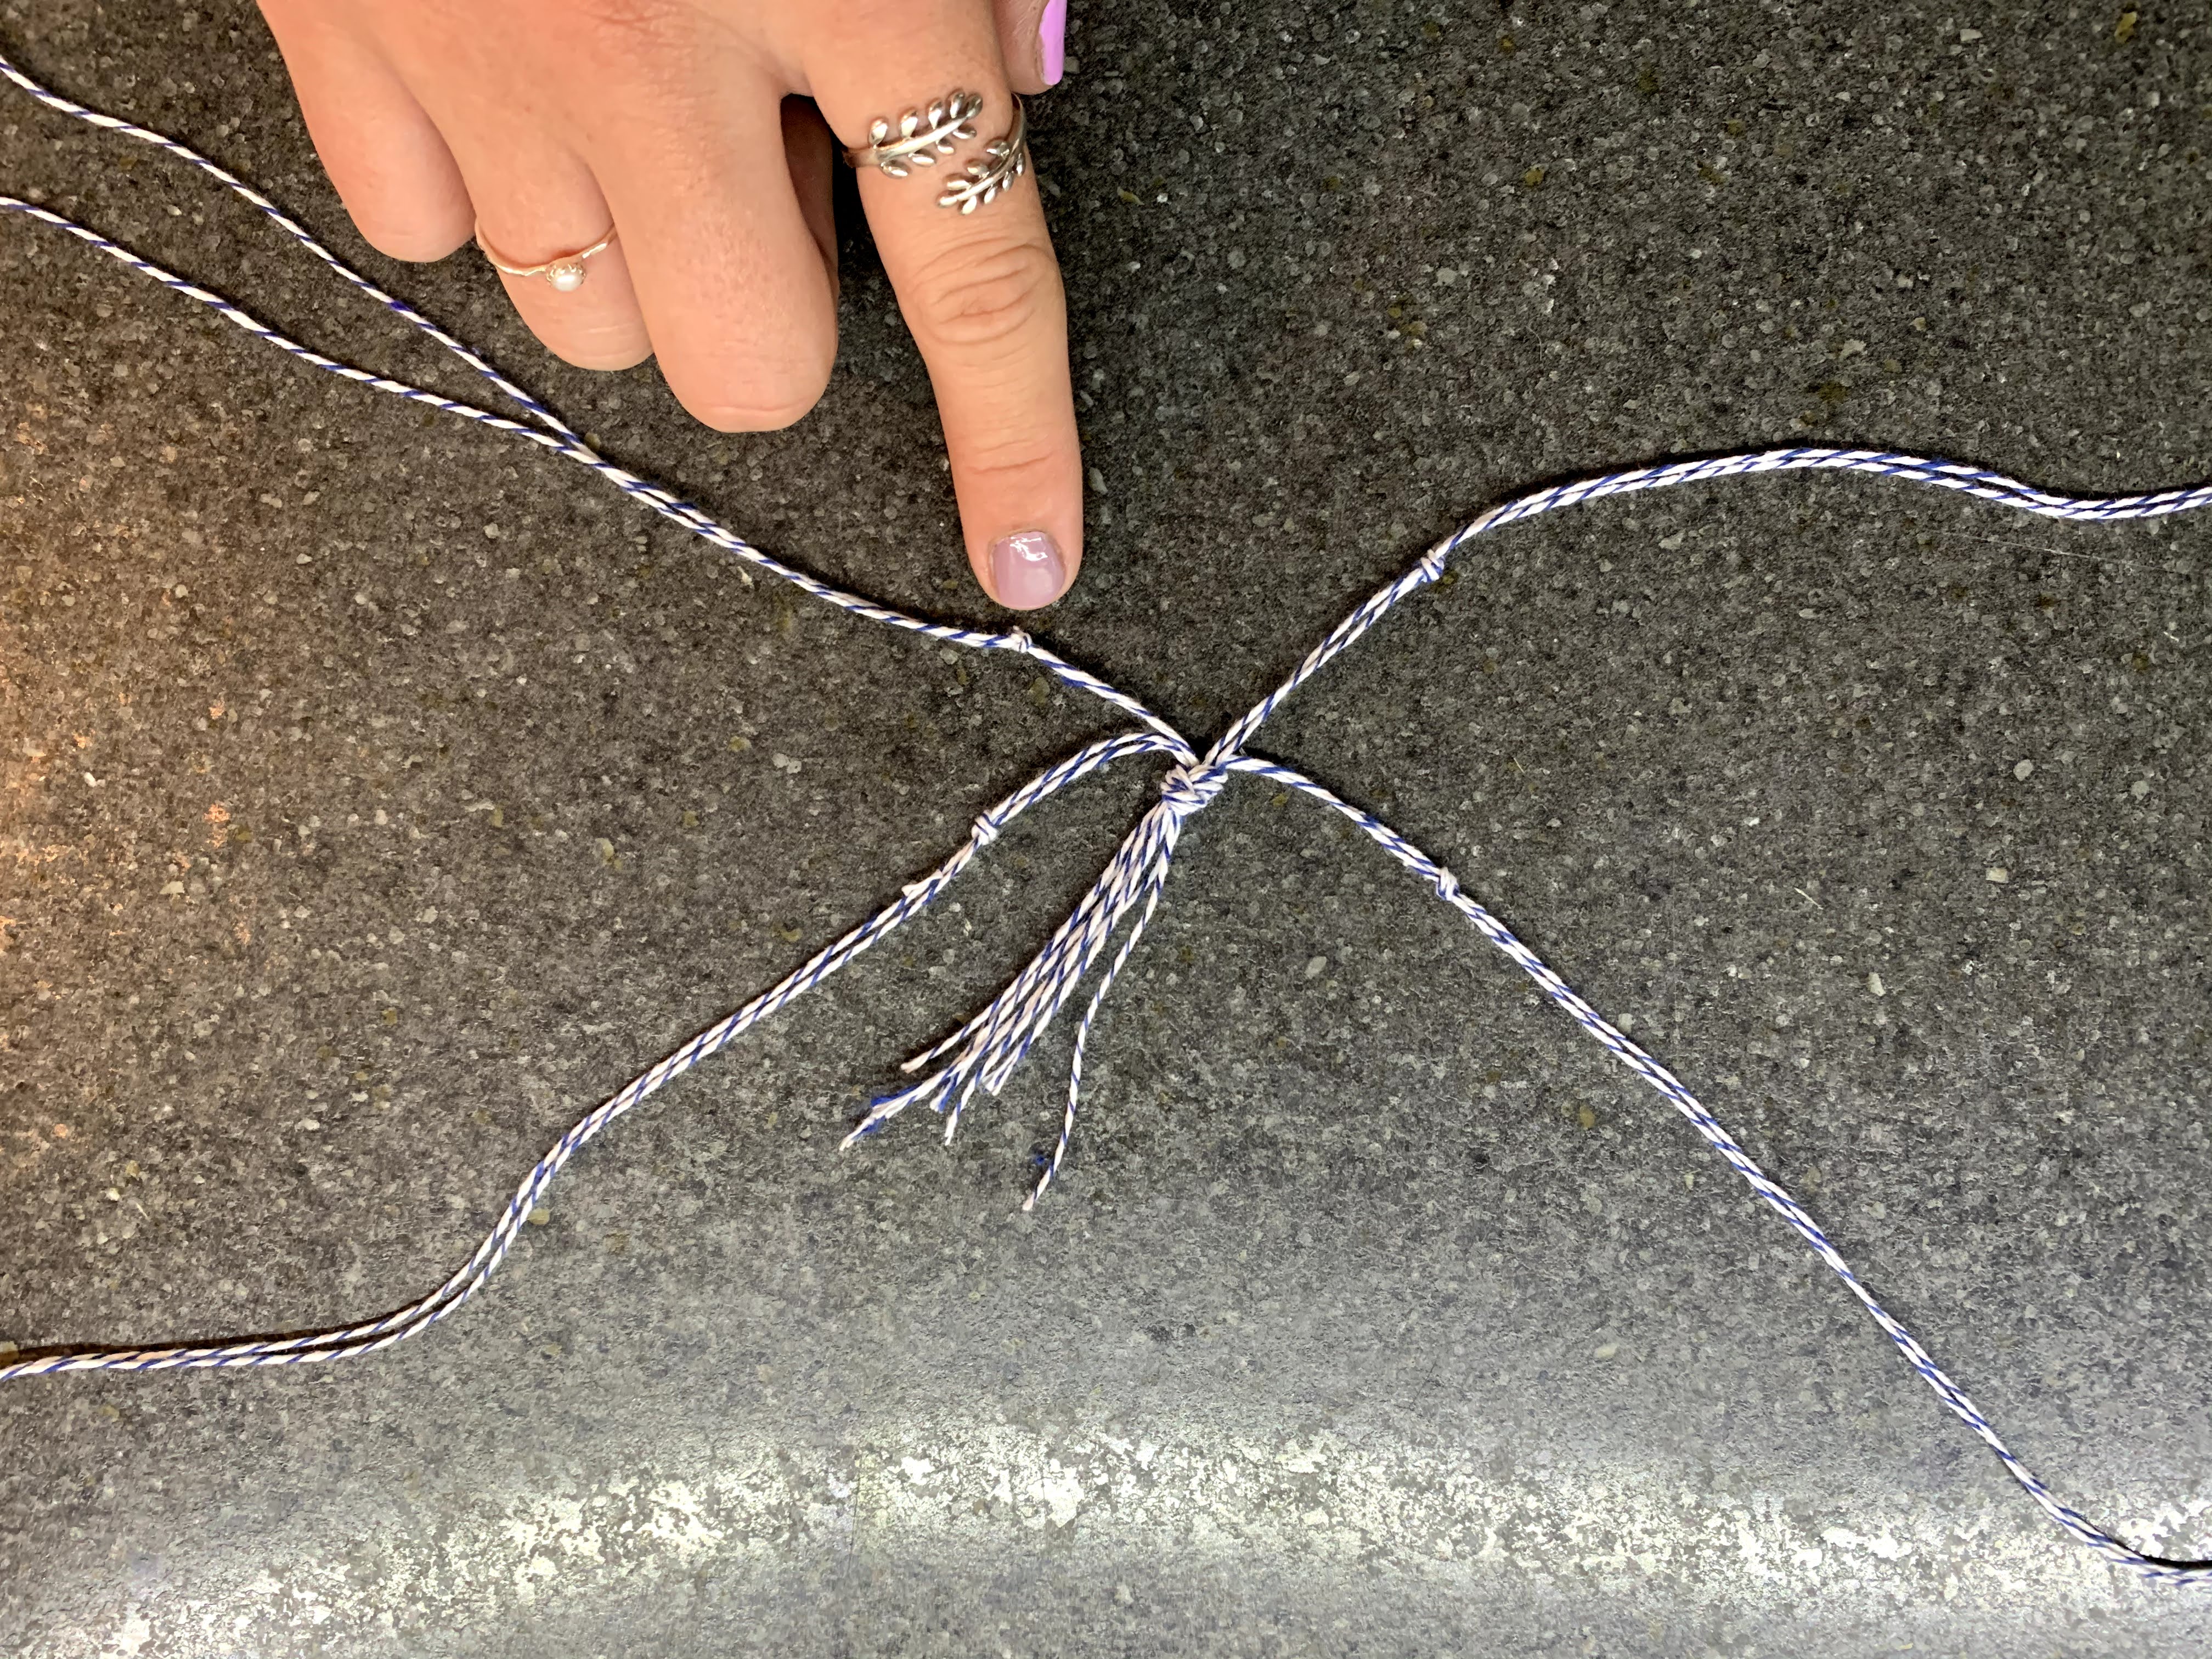
- Measure out eight strings, each about 12” to 18” long. Tie them all together leaving about an inch above the knot.
- Separate the strings into four pairs and set them up like an X on your surface (see the photo below)

- Tie each pair together about an inch down from the top knot.
- The next step is a little more complicated. Take one string from each pair and knot it with one string from the pair next to it. Make the knots about 2 inches below the knot you made in the previous step. The picture below is half complete and shows one pair split and tied with the pairs on either side.
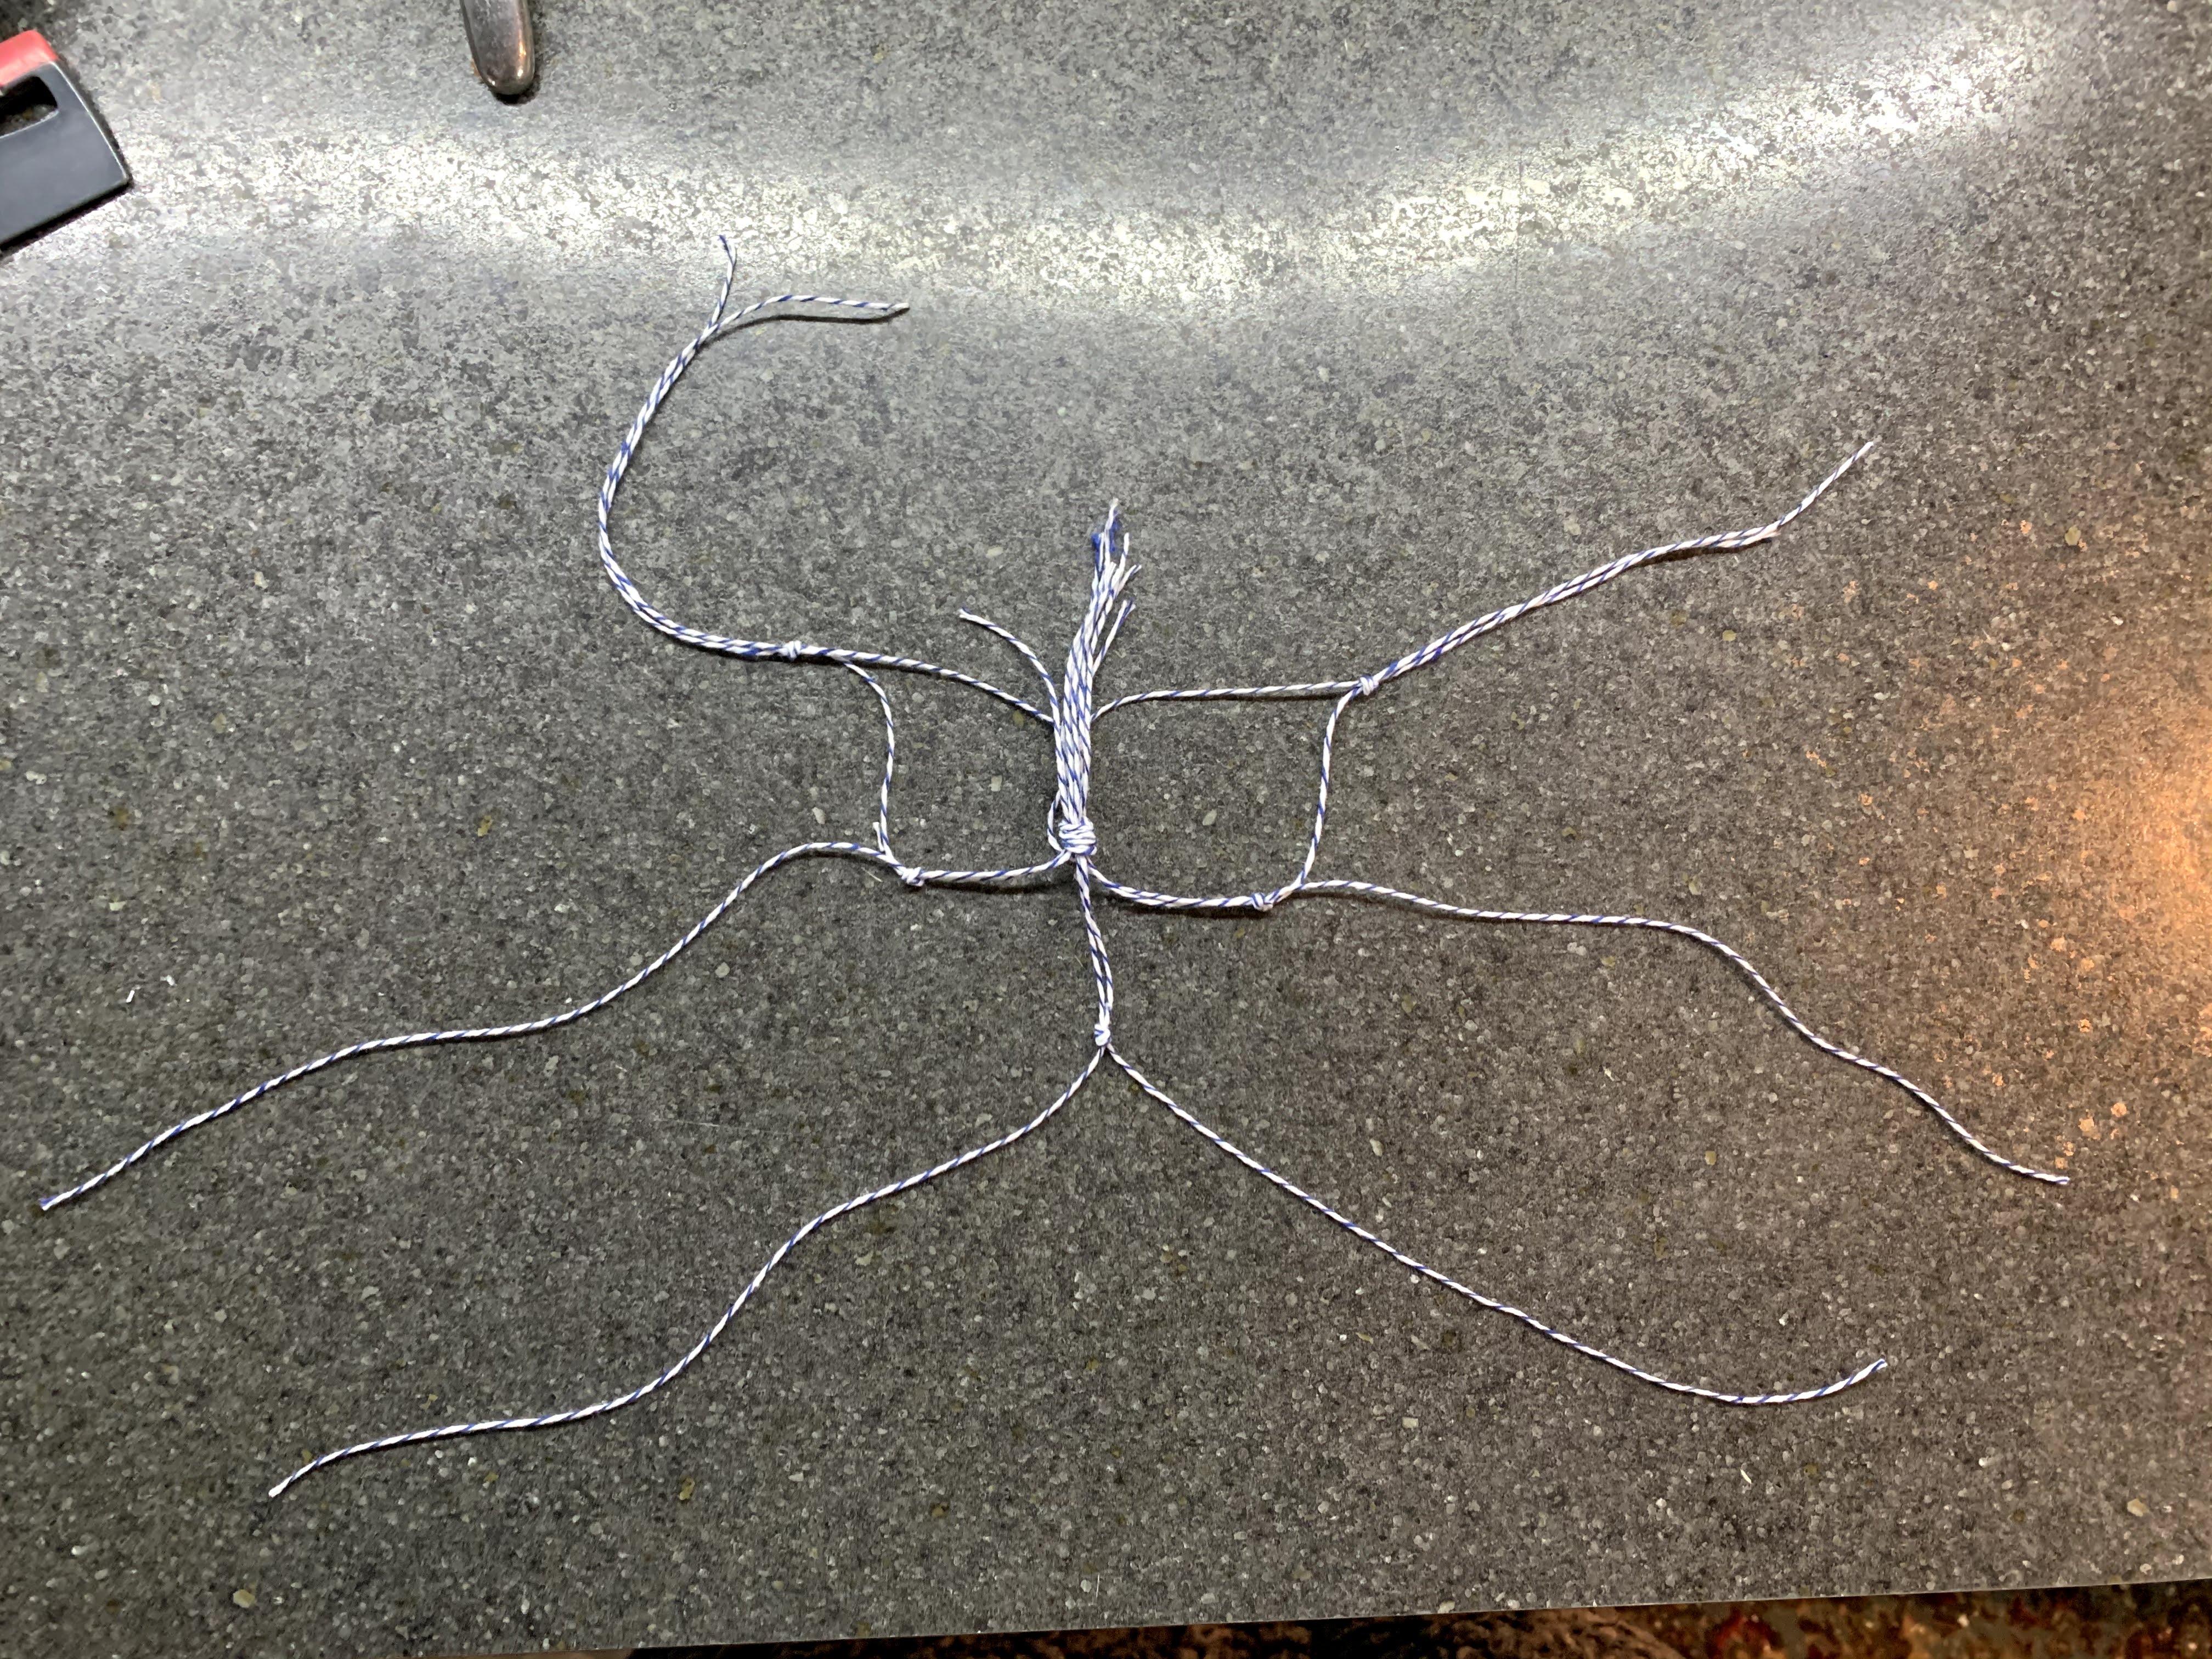
- To finish off the hanger, tie all of the loose ends together. This knot is similar to the very first top knot that you made.
- Your orange half (bird seed basin) should fit into the hanger and look something like this:
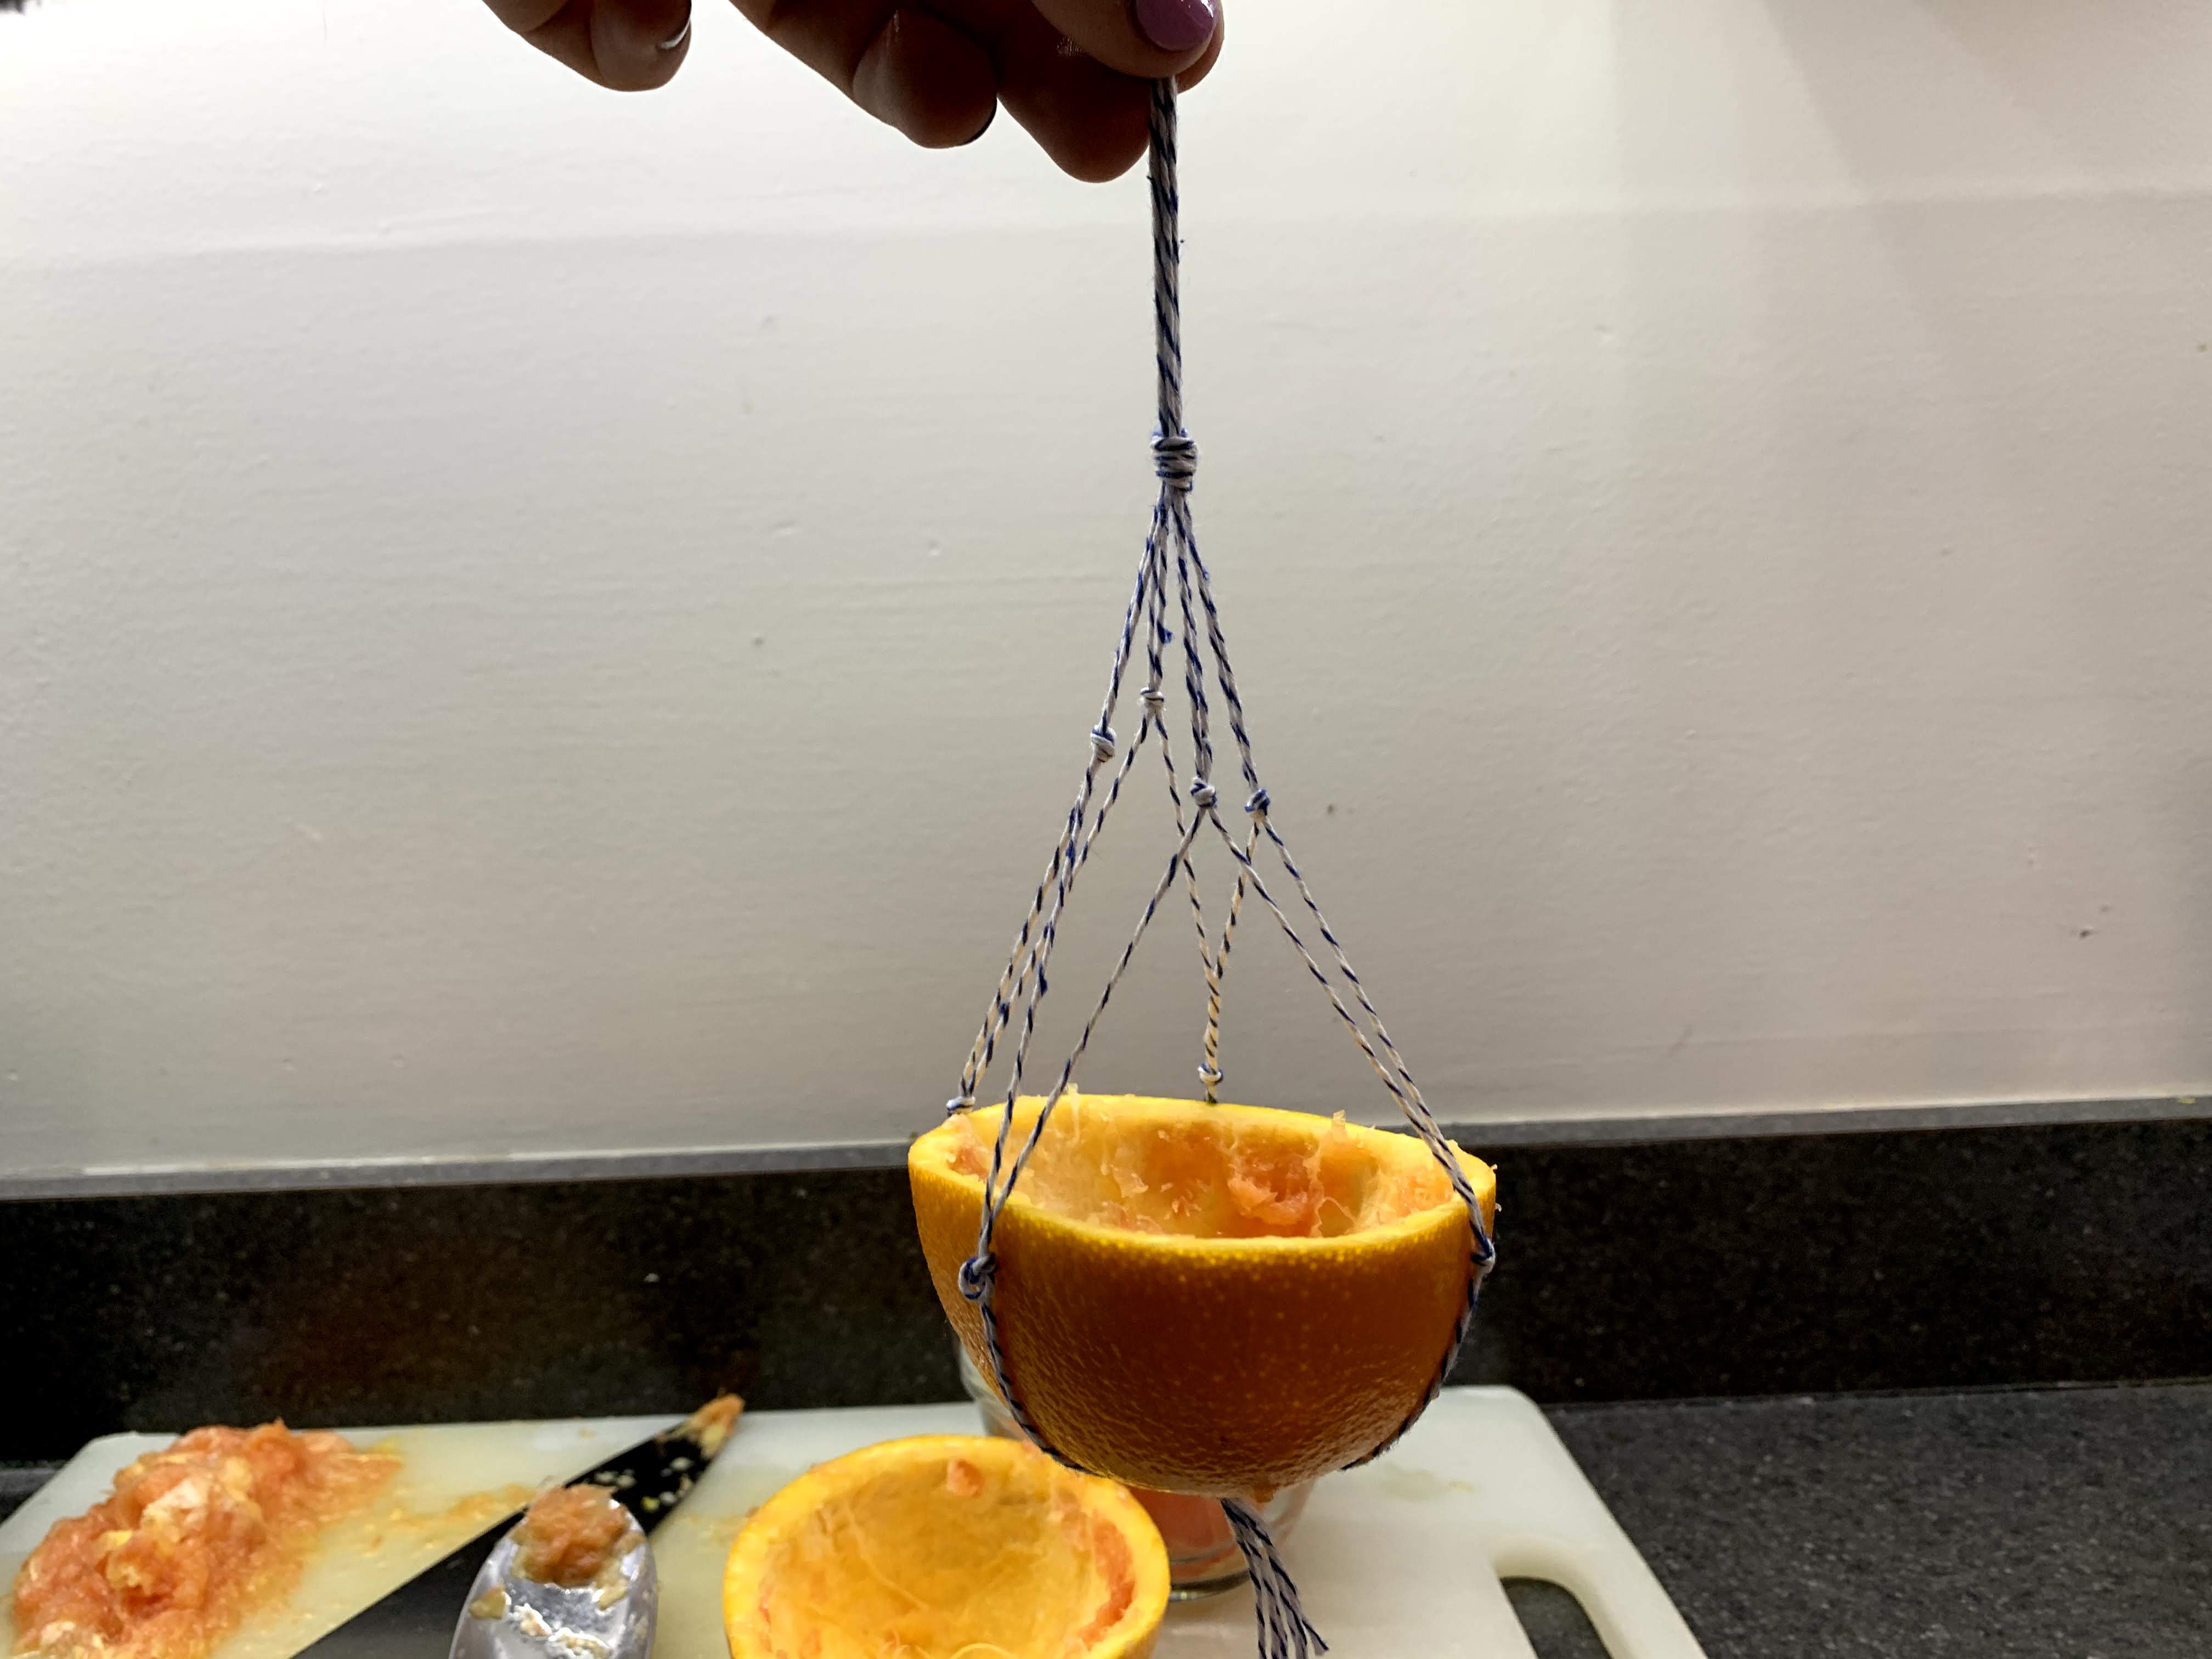
Fill the orange with birdseed and hang the feeder on a branch for the birds to enjoy!

Mine lasted about a week before the orange rind started to decompose and I moved it to the compost pile.

Kathryn, from Concord, NH, is an Intern at Nature Up North and a sophomore at St. Lawerence University. She is studying environmental studies-biology and enjoys playing outside with her dog. This is her first semester with Nature Up North and she is so excited to be part of the team!
These are cool designs! As a college student with limited access to wood and tools, I especially like the orange one, easy to make and effective!